
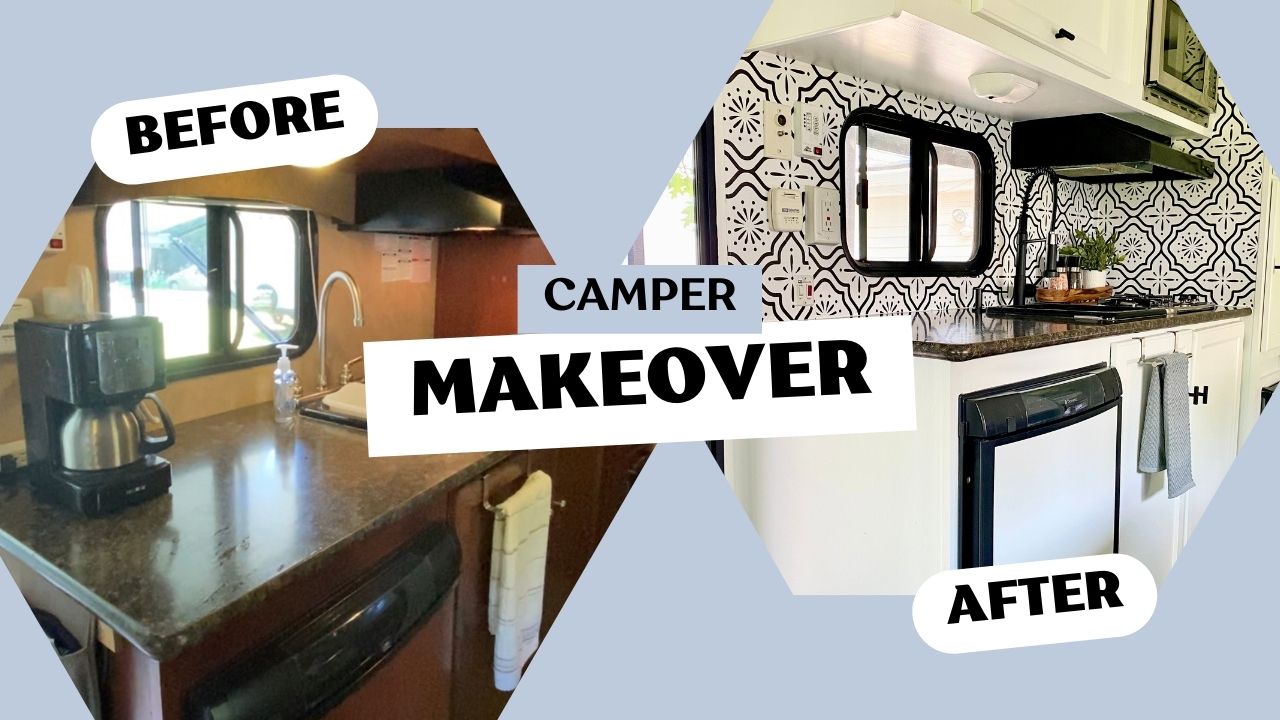
Our Camper Remodel

Are you itching to jump into a camper remodel, but need a little kick in the butt encouragement?! I’m here to do just that. Hey there, fellow adventurers! If you’re anything like us, you know that hitting the road with a travel trailer in tow is an epic adventure. But let’s face it, sometimes those factory-standard interiors feel like you are taking a trip back in time. Really, why do even new ones, often feel so dark and dated?

But let me tell you, there is a lighter and brighter camper life waiting for you! Settle in and I’ll give you the run down of our own camper remodeling journey.

Our “Needy” Camper

We’ve been proud owners of a trusty camper since it was delivered from the factory and we’ve enjoyed many memorable road trips across the country with her while chasing our dreams of visiting all 50 States . But over the course of the years, our kids naturally grew, we became all too familiar with a few pain points in packing the 4 of us in it and I hate to admit, but I wasn’t the best at keeping up with the routine and proactive maintenance…all these led us to both needing and wanting to make some changes and updates to our camper.

We began noticing a growing soft spot in the floor right inside the entry door, then leaks on the front wall. I know that that these problems would continue to grow and cause further damage to our tiny home on wheels the longer we put off addressing them. So in the fall of 2022 a camper renovation project shot to the top of my priority list.

Planning Stage

Once my handy dad confirmed his recruitment to my project 😁, the planning stage began. First, I defined the scope of work and priorities;

1) Necessary repairs: damaged floor and walls

2) Design and layout: Desirable modifications to create more floor space, seating, clothing more accessible, shoe storage

3) Cosmetic updates: lighten, brighten and make the space feel more homey. Including paint, update fixtures and accessories, cover upholstery, new bedding, luxury vinyl flooring

I spent countless researching materials for the must do repair projects including appropriate flooring and wall repairs. I also did a lot of research in how to address the root cause…sealing up all the potential points of water entry. Then the fun part was looking into other camper remodels for design and style inspiration.


Necessary Repairs

The repair process started from the outside and worked in. The first step was to address the source of the leaks. That meant caulking and sealing all the gaps with non leveling lap sealant on the vertical surfaces. On the roof, I used self leveling sealant and then opted to use a roof sealant tape as an added precaution.

After the outside was sealed, we began demo of the inside. The first thing to go was the bed and frame at the front. This allowed us to pull back the linoleum flooring and the front wall to assess the extent of the water damage. We ended up tearing up most of the floor, then proceeded to replace or reinforce floor joists as needed before putting in new insulation and OSB.
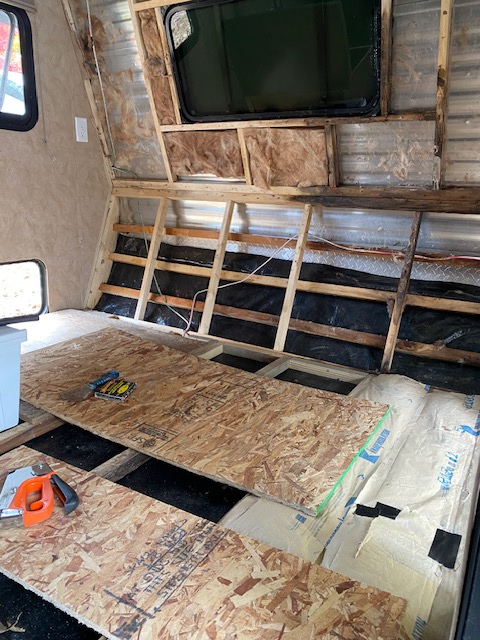
Once the new subfloor was in place, we installed luxury vinyl plank for its durability and aesthetics. The front wall was replaced with a bead-board look paneling.
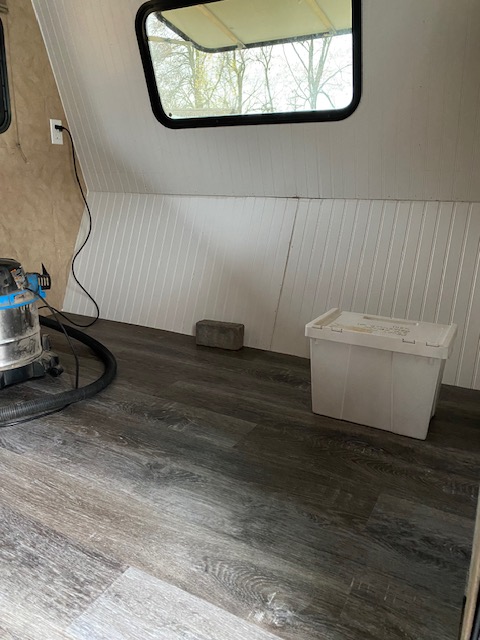

Design and Layout

Once the necessary repairs were addressed, I set out to design a space that would improve our experience inside by addressing some of our pain points.

One of the best decisions we made was to reconfigure the front bed to better suit our desire for more functional space. The original floor plan had a built in queen bed frame which lifted up for storage beneath. Under the bed was the only place we really had to store clothing and overflow pantry items while traveling. However it was quite inconvenient and awkward to retrieve items from there. The bed also served as our only seating besides the tiny dinette. However, it fell short for comfort or practicality in that regard. Another area that our camper was not meeting our needs in was floor space. Especially as our kids grew into larger bodies, it became more cramped and uncomfortable trying to function inside the tiny space.
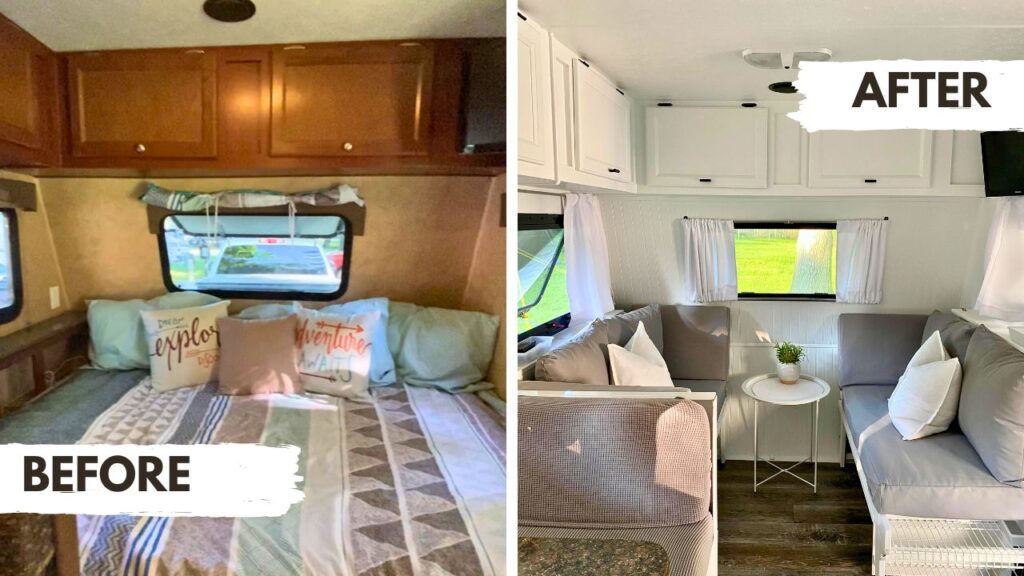
By making this one change in removing the bed we successfully addressed three of our biggest pain points. In place of the bed, we installed 2 benches that pull together to form a full size bed. Laundry baskets fit under the bench and slide out for each access to clothing. We almost doubled our floor space with the addition of foot room between the benches. There is now comfortable seating for 4 in addition to the dinette. We can even slide the dinette table over to the front seating area for a more roomy dinner setting. Plus we were able to build in a shoe rack on the end of one bench to eliminate the pile of shoes that forever lived on the floor in front of the door!

I happened to find these benches at Aldi. They were outdoor loungers, made of wood and included cushions. With just a few modifications, they fit perfectly into the space.


Cosmetic Updates

To lighten and brighten the space, I opted for a modern farmhouse aesthetic with black fixtures, white and grey textiles and a few accents pops of green

Choosing the right materials was crucial to the success of the project.

For all of the interior, I wanted durable, easy-to-clean surfaces that could withstand the wear and tear of an adventurous family of four while still looking great. I needed a paint that would adhere to multiple surface types. After much research, I opted for Sherman Williams Extreme Bond Primer and ProClassic interior acrylic paint. (Personal tip: Be sure to ask at the counter if your employer is in their system as a discount partner. We saved 50% through my husband’s employer discount).

To achieve a quality finish, I opted to purchase and take on a paint sprayer. I was quite intimidated with it to get started. So I did a practice run in my unfinished basement where the quality didn’t matter. It didn’t take long to get the hang of it. I do recommend purchasing a different spray tip than the one that comes with the machine in order to achieve a good looking finish in the confines of small spaces like cabinets.

When it came time to take on the painting portion of the project, I first sanded all surfaces and wiped them clean with water. I masked the interior like crazy to protect everything that I didn’t want painted. We removed the benches, all cabinet doors and bathroom door to paint them outside. Personal tip: Be sure to cover your hair when spraying inside the unit. It will be hard not to collect overspray and brush against wet walls in the tiny space. I simply had my hair in a pony tail and let me tell you I had a MESS. Paint and primer that did not come out for weeks!
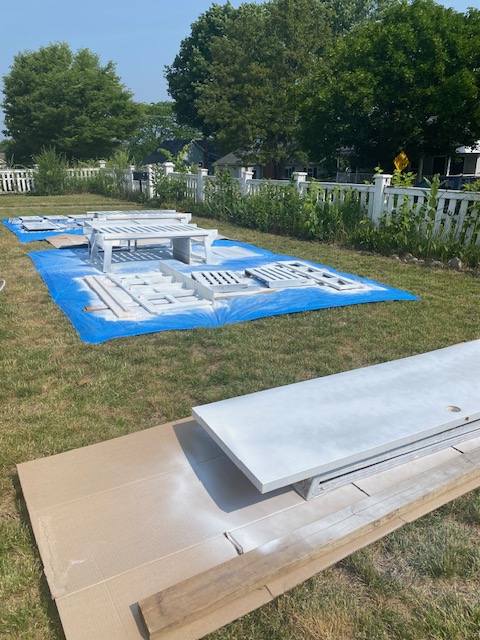
Once painting was complete and the paint set up, we reinstalled the doors with new black hardware. I updated the faucet to a modern black farmhouse style. I covered the dated brown dinette cushions with slip covers from Amazon. I updated all the window treatments to crisp white curtains hung on easy to remove rods. Once everything was white, I craved a balance of some area of interest. So I hung a vinyl stick on wall paper as an easy clean back splash.

One of the most rewarding aspects of our remodel was putting it all together with little finishing touches that truly made the space feel brand new (yet comfortably familiar).

Completion and Final Touches

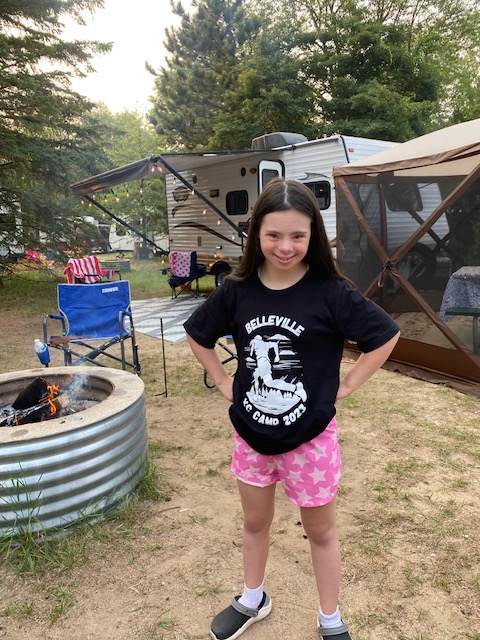
After weeks of hard work and late nights, our camper remodel was finally complete – and let me tell you, the transformation was amazing! We completed it just in time to take it to cross country camp in the summer of 2023. I can’t wait to take our fresh camper on many for adventure this year and in the years to come. It was so worth the efforts we put into the camper remodel!
If you’re thinking about embarking on your own camper remodel adventure, my advice is simple: go for it! With a little creativity, a lot of patience, and a healthy dose of elbow grease, you can transform your camper into a space that’s uniquely yours – and create memories that will last a lifetime. Happy travels!

If you are intersted in details of the items I used in our camper remodel, check out this Amazon list.
5 Iceland Road Signs To Know Before You Go

Iceland Road Signs Explore Capture Share

Are you feeling a bit nervous or anxious about renting a car to drive around Iceland? Wondering if you will be able to understand the road signs while navigating your way to all the popular Iceland landmarks?

I’m here to help prepare you for the unknown and put your mind at ease…at least some.

Though I’m not going to review the obvious.  The speed limit, stop and yield signs are pretty intuitive.  Instead, I’m going to give you a few that it took me a little more time to pick up on or take notice to.  These are signs to keep on the look out for to maximize the tourist experiences you are able to enjoy.

When my son and I climbed into the rental car at 6AM in the pitch dark and running on little sleep, I was honestly a bit overwhelmed.  Despite how detail oriented I am and how much I plan ahead, I didn’t feel very well prepared in my itinerary.  It was difficult to try figuring out where we should head next and navigate to it while driving a manual transmission vehicle in an unfamiliar land.  

We honestly passed by some sights that I had intended for us to see.  Had I of picked up on the meaning and value of a few key road signs from the start, we likely would have been able to hit all of our intended Iceland must-sees.

LAY BY

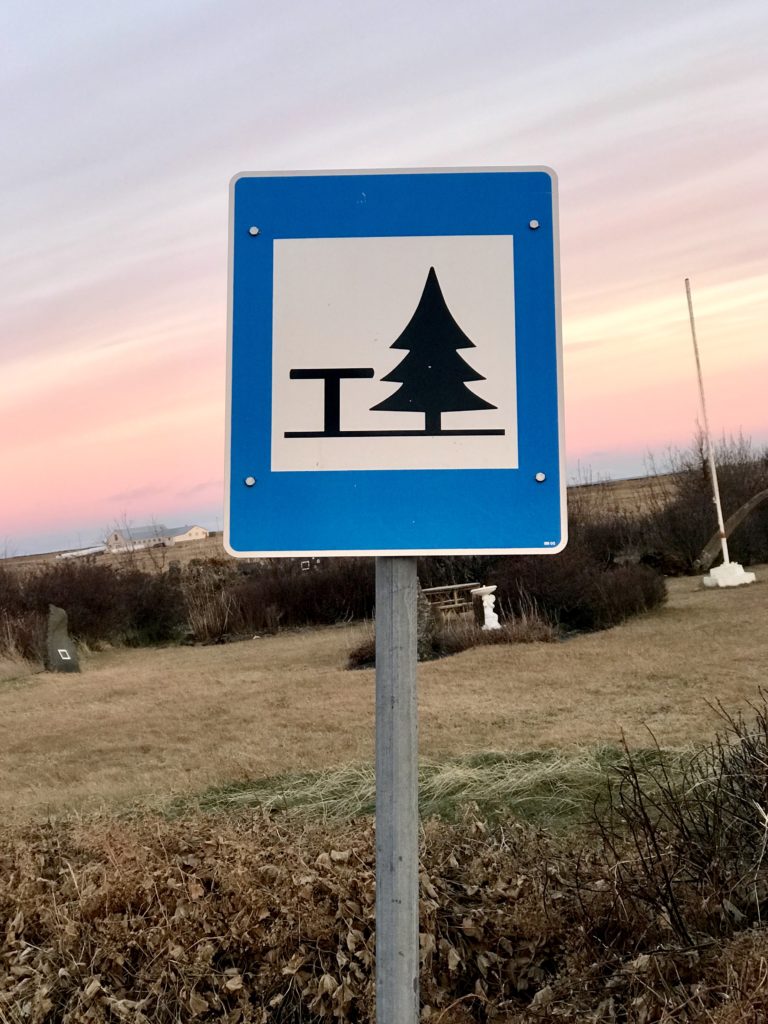
Iceland Lay by road sign

At first, I intuitively thought this was simply a picnic area.  But once I actually started to notice and realize the pattern of what continued to follow these signs, I was so thankful.  

When you see this sign, be ready, there will be a pull-off, “lay by”, parking area and most likely a terrifically scenic view to take in or capture in photo.  Iceland is so beautiful, it will be so tempting to stop on the side of the road at every turn in order to capture the scenery to share.  But it’s critical that you do not!  Instead, keep a look out for these “picnic table and pine tree” signs (as we called them) and get ready to pull in to safely park there.

I started to think of them like the Iceland road side equivalent of those kodak photo op signs you often see in theme parks.

Speaking of which…I was clearly confused because that’s exactly what I originally thought the following sign on the side of the road was.  Spoiler alert…it’s not!

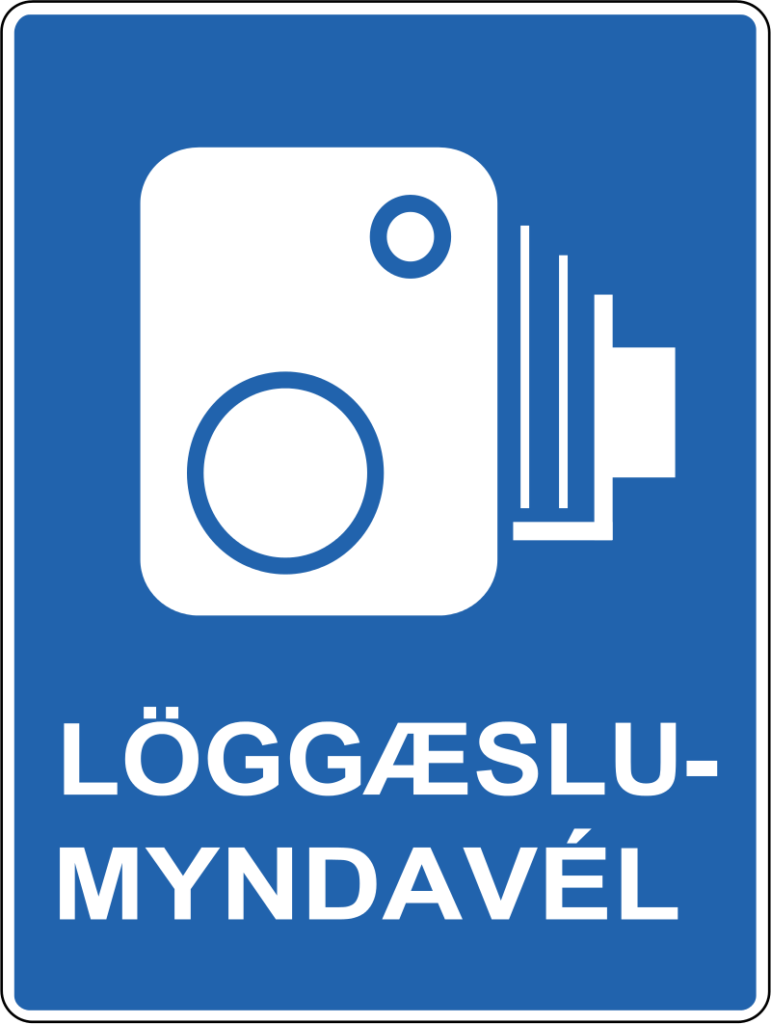
SPEED CAMERA

Yeah, this cute old fashion camera sign on the road side does not announce upcoming Iceland landscape photo ops.  It’s a photo opportunity all right…one for you license plate.

Of course you will be traveling the speed limit right, so you don’t need to worry about that?….Right!?

Well, just know that sign is not the pull over and “take a photo here” alert that I originally assumed that it was.

Save up to $500 when you book your flight +hotel!

POINT OF INTEREST

Iceland Road Sign - Directional to city, distance marker, point of interest

See that loopy square up there?  That denotes a point of interest.  Boy, do I wish I would have understood that valuable bit of info before we ever started our drive in Iceland.  

In this photo, it’s referencing a lighthouse and museum in that direction.  Yeah, we missed a classic waterfall or two because I didn’t know to keep an eye out for those things.

But now you do!  Please visit Bruarfoss for me, will ya?

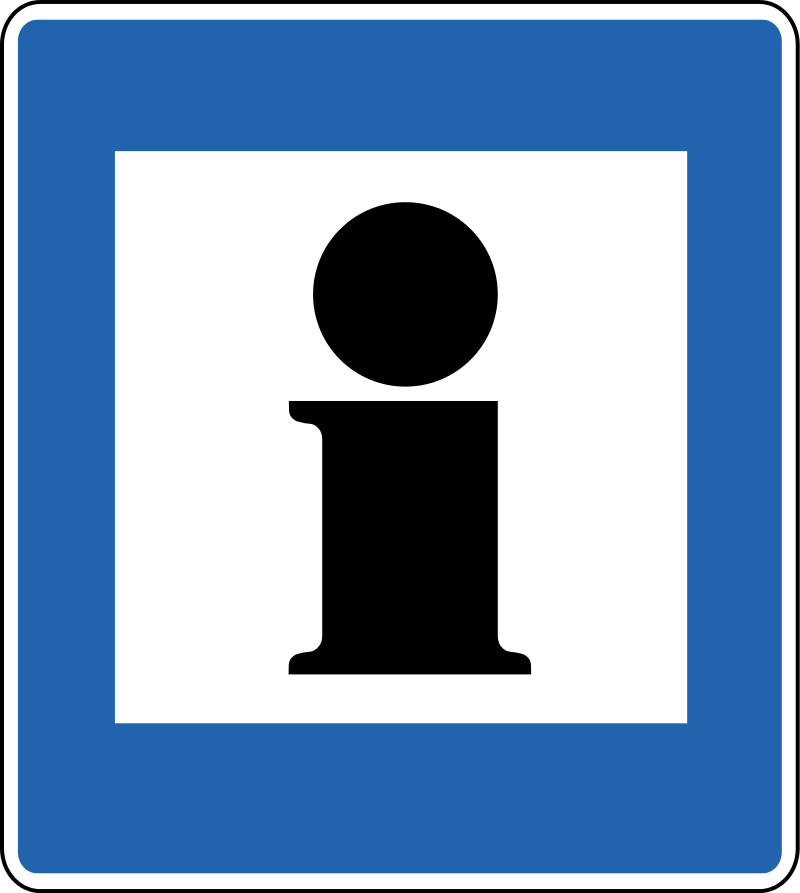
TOURIST INFORMATION

This one is rather self explanatory to some respect.  Except that when I see it in the United States, I usually expect there to be something like a rest area with travel info.  Usually a building with local tourist maps, brochures, information, a volunteer or employee answering questions or providing suggestions of places to visit in the region and such.

Therefore, this Iceland version of the familiar road signs caught me off guard a little when I started seeing it.  That’s because I did not see anything big and notable like a building near it.  So, I naturally kept driving.  Oops, I surely missed out on some valuable information.  What I later noticed is rather than the building that I expected, there may have just been an educational sign over there.  So just know, if you have the time, make the stop (there actually is something there) and soak in some information.

SPEED BUMP

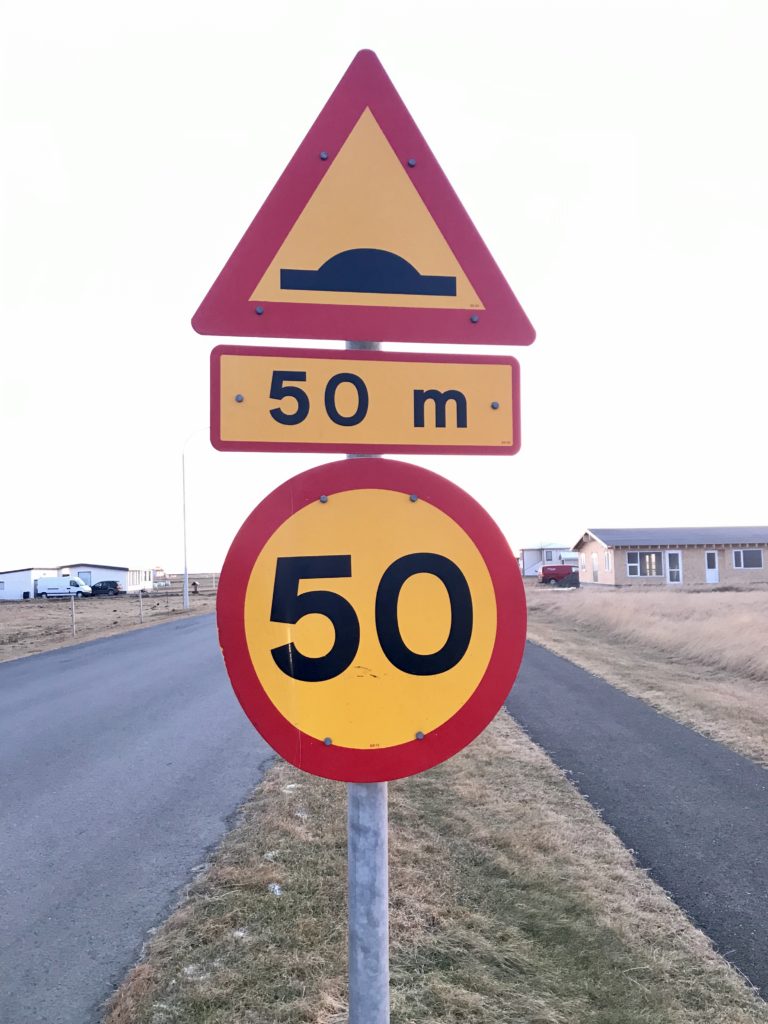
Iceland road sign - speed bump

This one was quickly intuitive to me.  Especially after a sailed over the first one (at the posted speed, mind you) and practically launched the vehicle and all contents Duke Boy style.  Yet, time and time again…I saw this sign but something in me just didn’t head the warning appropriately.  Again and again, I found myself registering the warning just a little too late.  I’m not quite sure why my response time was so lacking in regards to this sign.

Seriously though, just look at that sign.  It’s telling you the speed limit is essentially equivalent to 30 miles per hour…but oh yeah, we’re gonna throw this bump in the road to keep you from actually going that fast.  .


Well now you should be at least slightly better prepared than I was in understanding the value of a few Iceland road signs.  I hope this helps you in your navigation as you set out to see all the amazing sights the country holds.

Ready to start planning your Iceland adventure?  Check on flights now on Expedia.

Five Iceland road signs Explore Capture Share

Meet “The Camper”

When I was about eight years old, I boarded a plane in Detroit and flew across the country by myself to San Jose, California where I was received by my aunt and uncle who lived there and my grandparents who were visiting there (they lived back in Michigan too).  After about a week of visiting with my California cousins, I loaded into my Grandma and Grandpa’s car to begin the long DRIVE home.

At the time, I thought it was kind of fun yet I don’t think that I truly valued the experience for what it was.  I didn’t realize at the time, what it was planting inside of me, the bug that it was feeding.

I remember walking on the salt flats in Utah, spotting and counting antelope, wondering around Wall Drug, and staring in amazement of how large those presidents heads were at Mount Rushmore.

Through the years, I’ve always held on to those memories, but I wanted more.  I wanted to see more.  I wanted to do it again as an adult.  But I didn’t just want to do it myself, I wanted my kids to do the same as me.  I wanted them to experience a drive across this beautiful country.  But I didn’t want to stop and haul kids, food, clothes and more in and out of hotel rooms.  I dreamed of loading it all up in a pull behind camper where we would have our own little traveling home.

So in 2014, I finally decided to make the dream a reality and began shopping for a camper.  What I wanted was something as small as possible that had everything we needed including designated beds for everyone without converting a dinette or such.  As I dove further into my search, I furthermore decided that I wanted hard sides, with no popups, no foldouts, and no slide outs.  Just a compact self contained box.

And what we got was just that.  A 17 foot bunk house unit.  It has a queen bed, two bunks, a table for 4* (One child and one adult per side with a little overhang), dorm size refrigerator, sink, 2 burner stove, microwave, bathroom with tub and shower.  And the dinette does convert to a bonus bed (we’ve never used it as such)  It is a tiny space and we get under each other’s feet, but I love it!  We have everything we need (and more) loaded up and at our disposal on our adventures.  I absolutely love being able to jump into it when we make a pit stop on long road trips to use the bathroom (I’m kind of a germaphobe) or make a quick lunch.

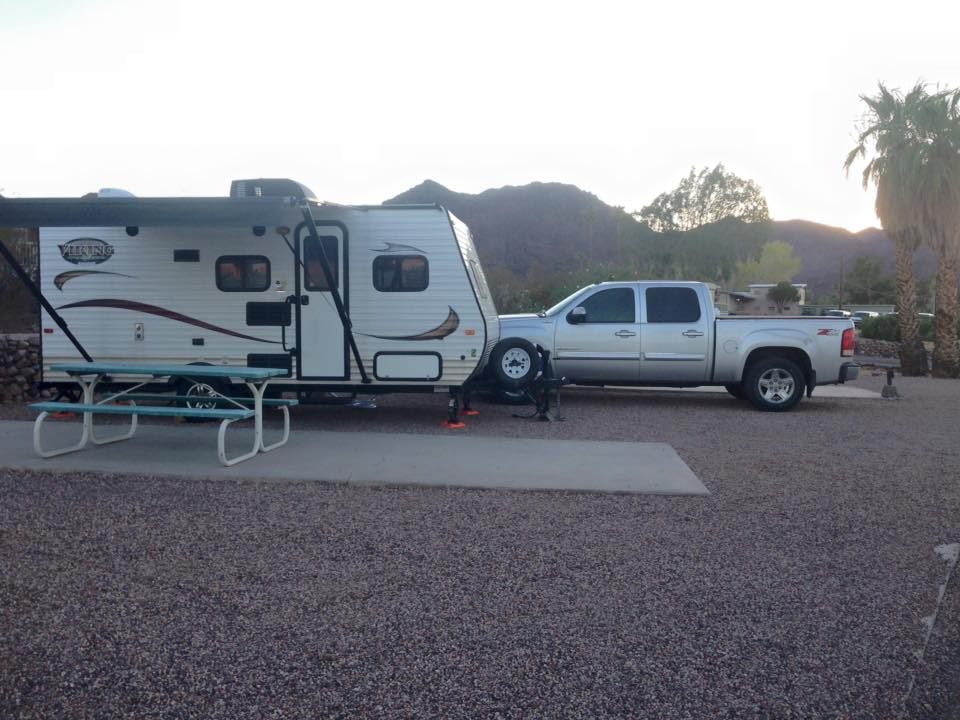
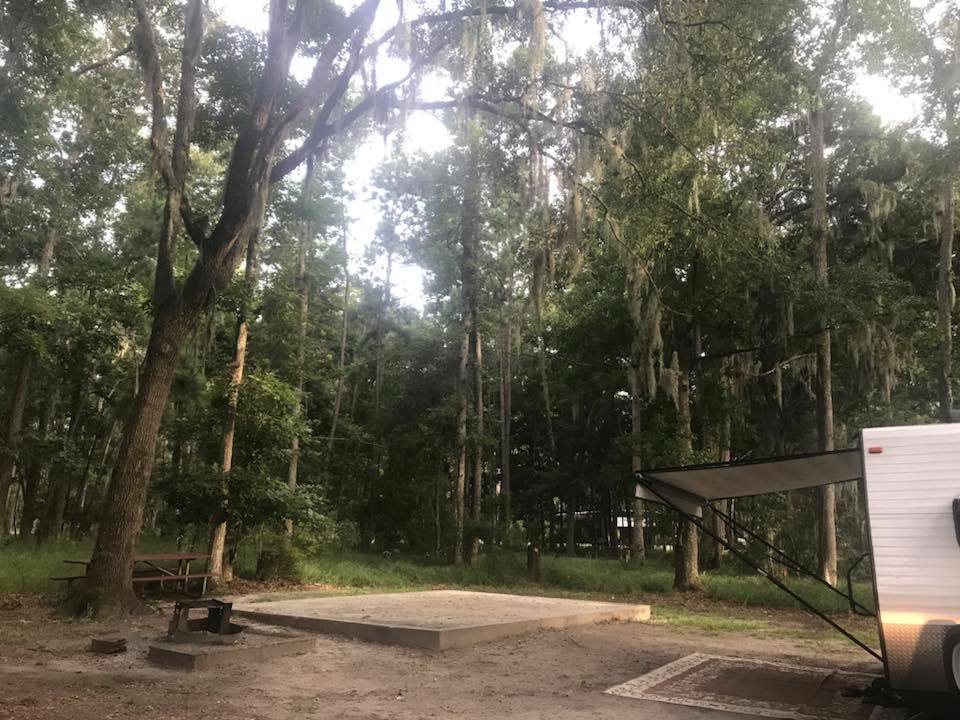
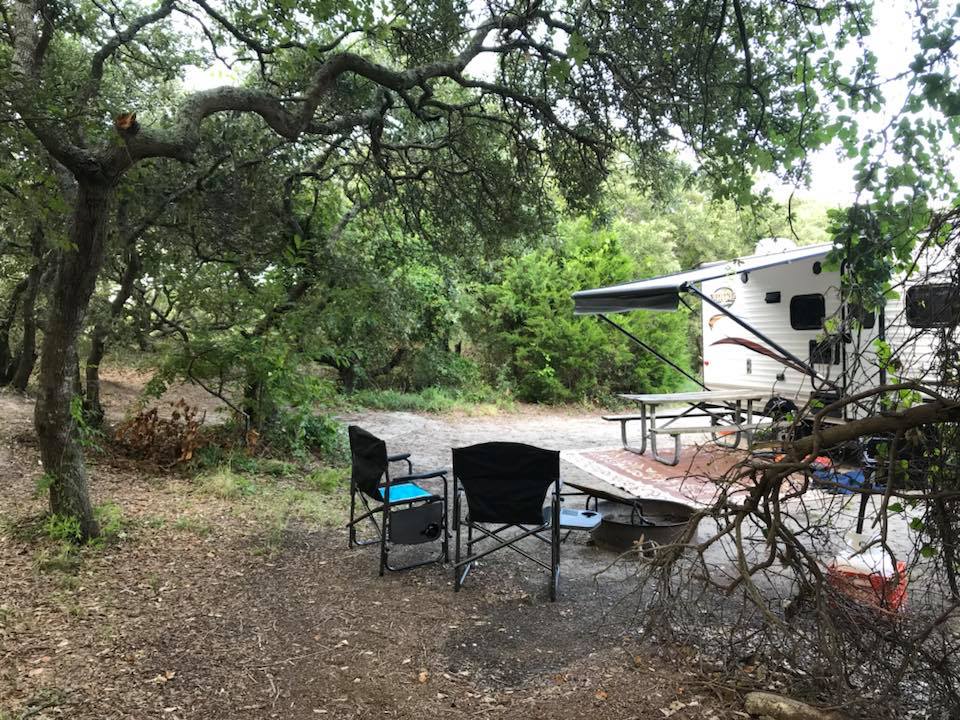
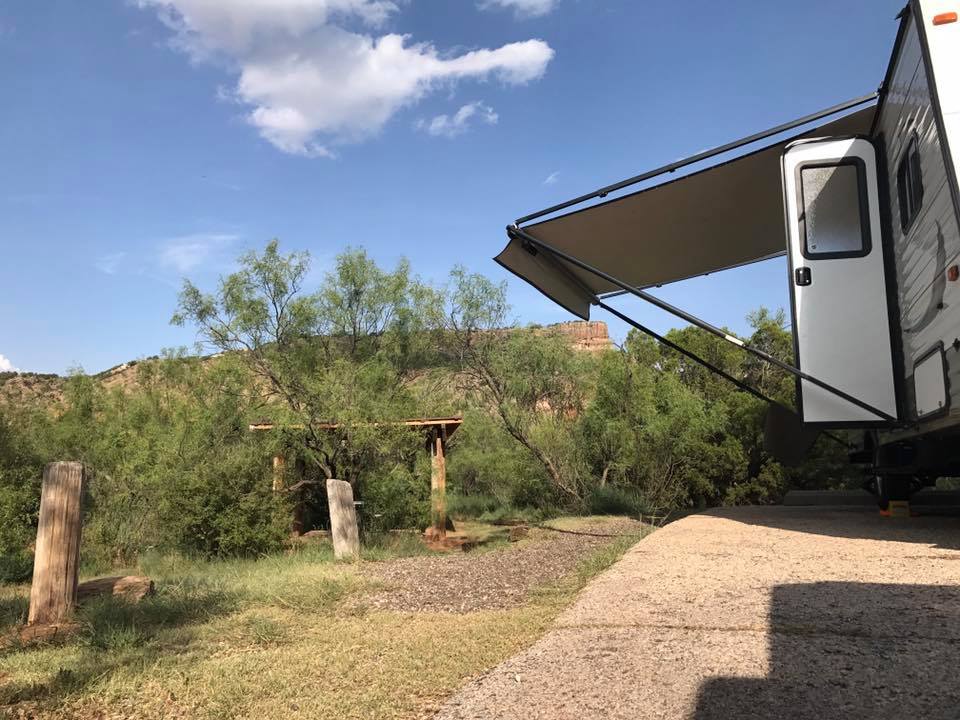
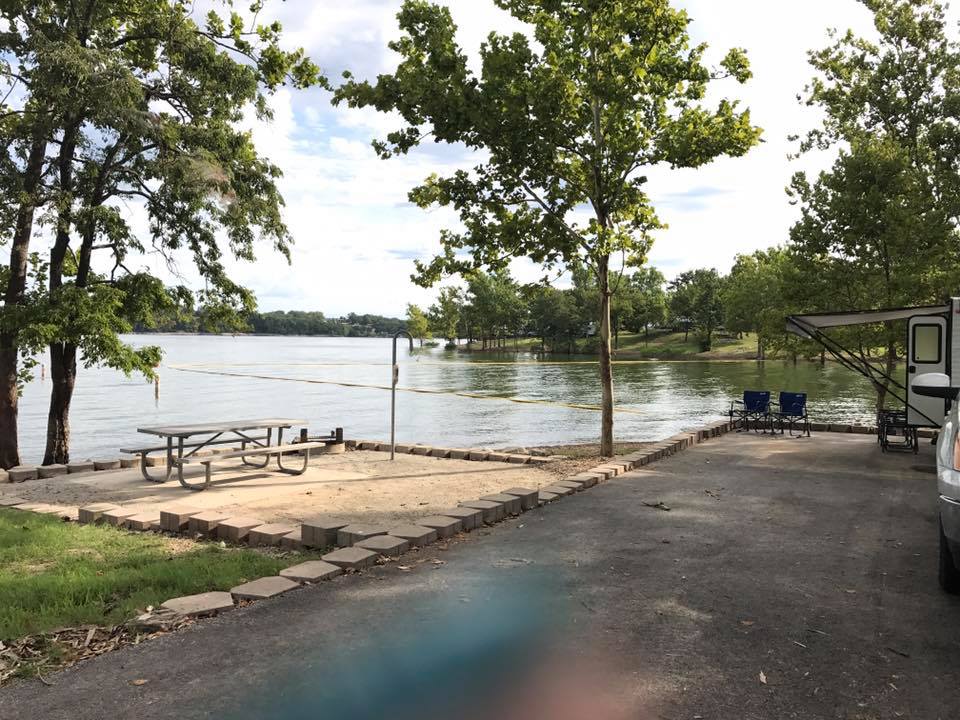
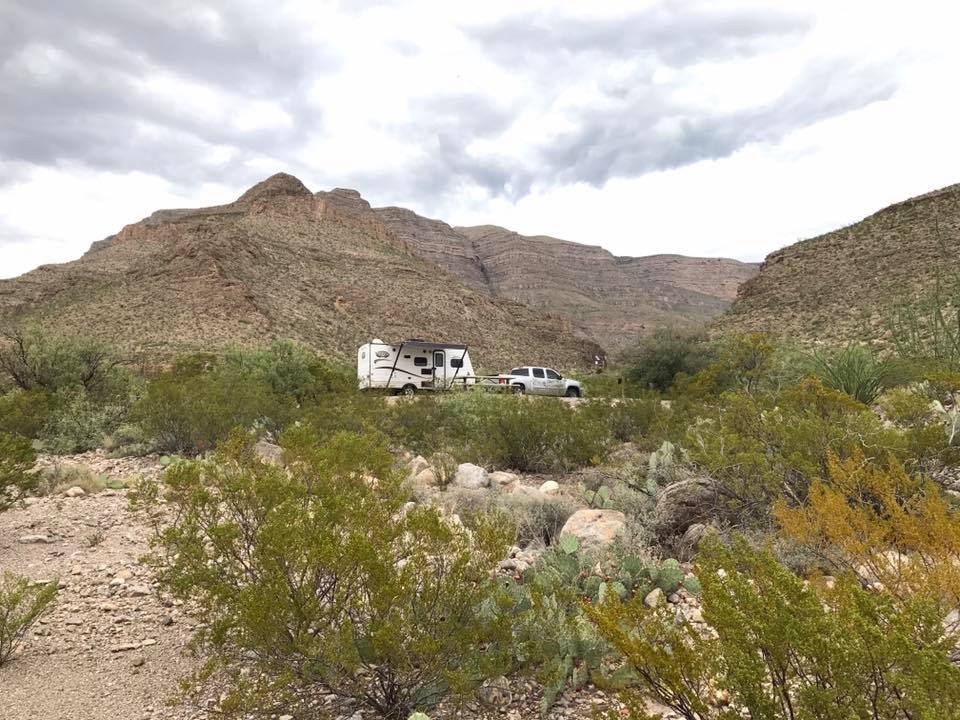
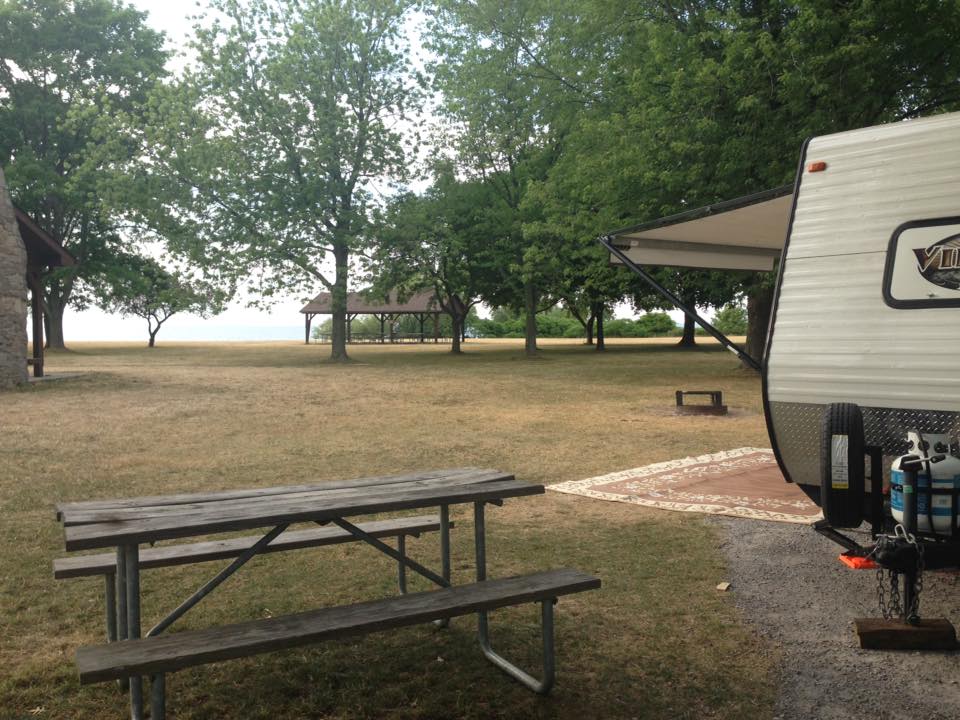
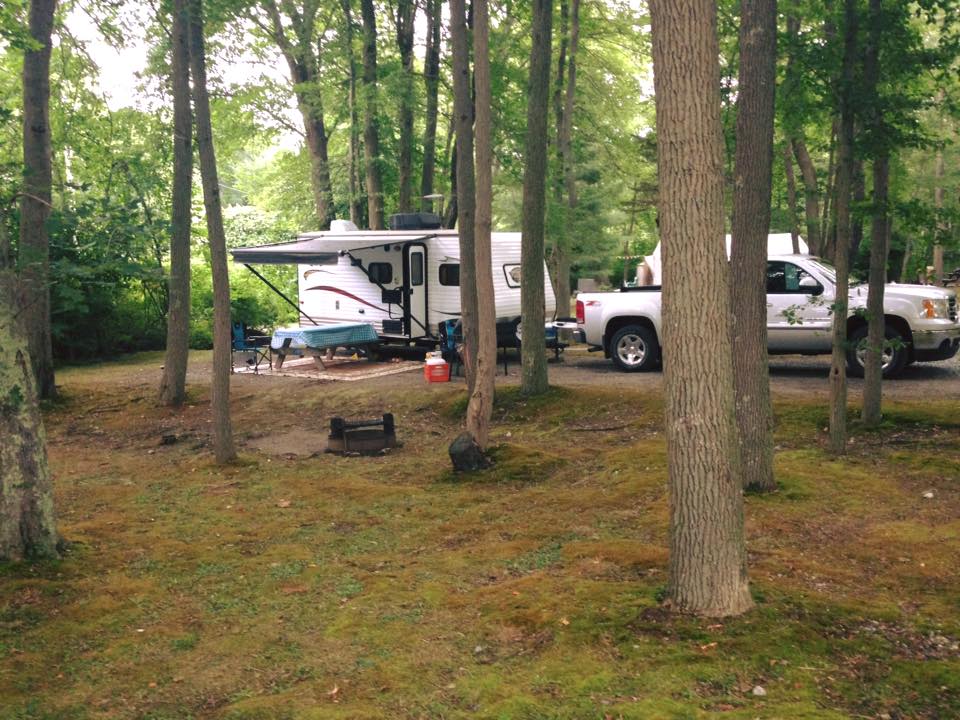
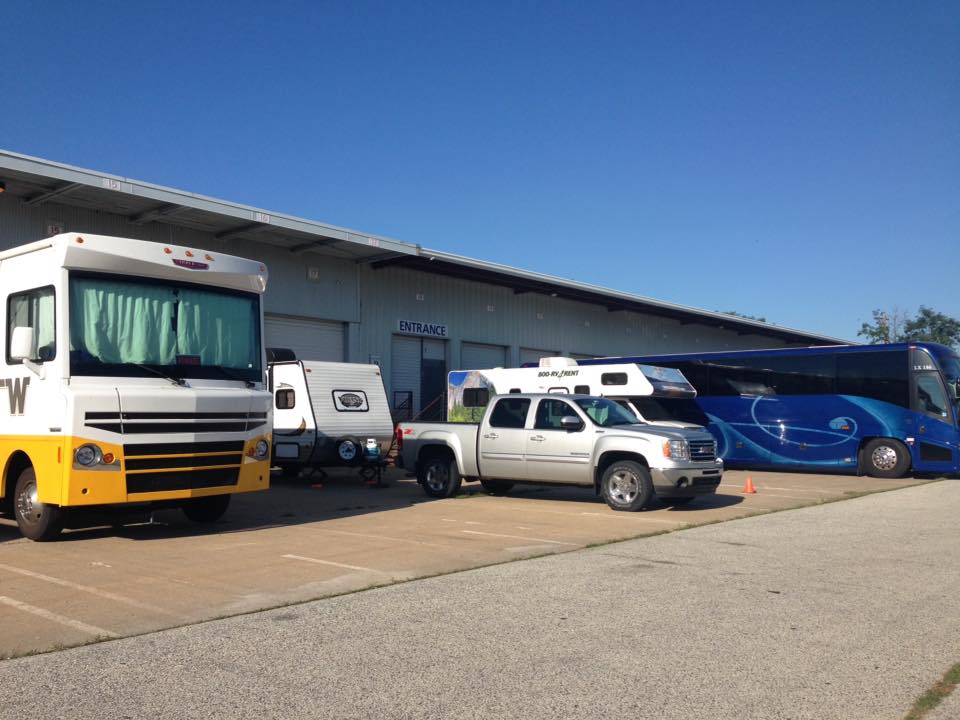
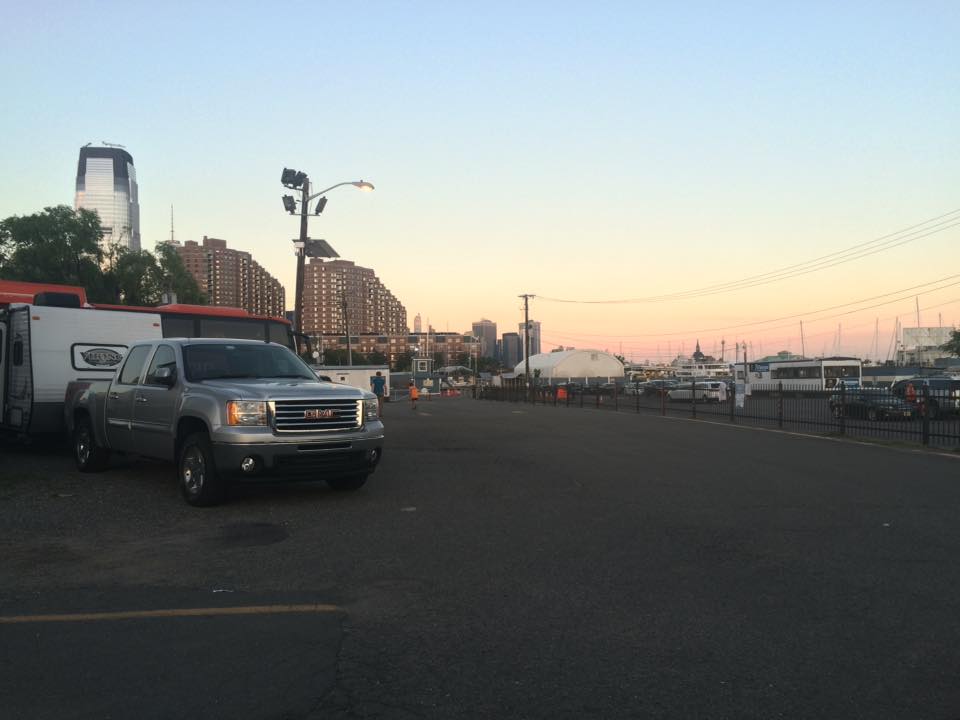
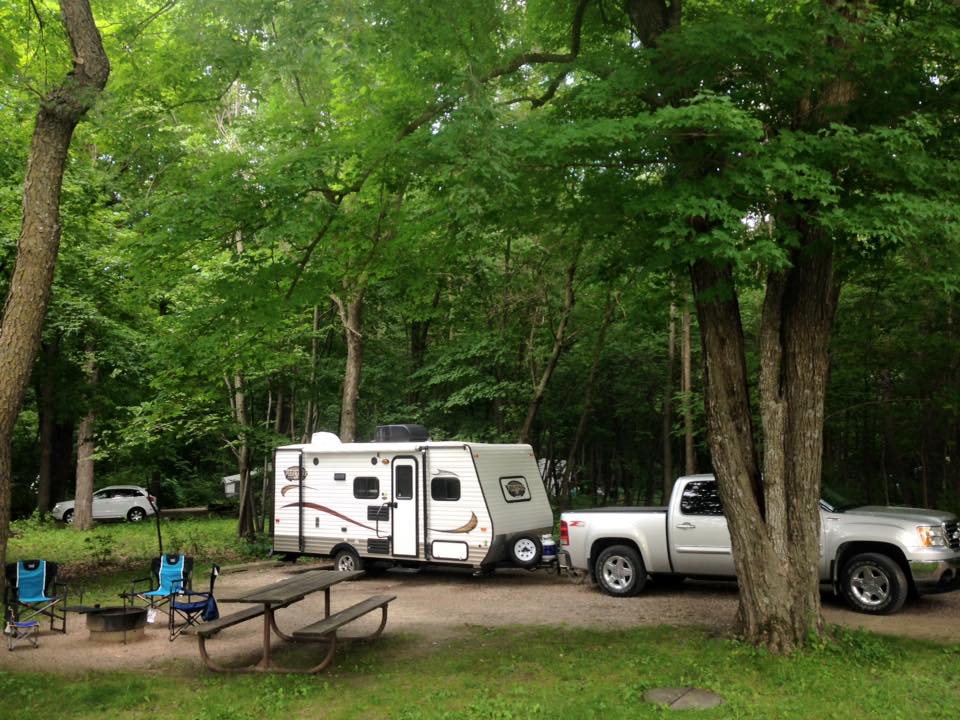
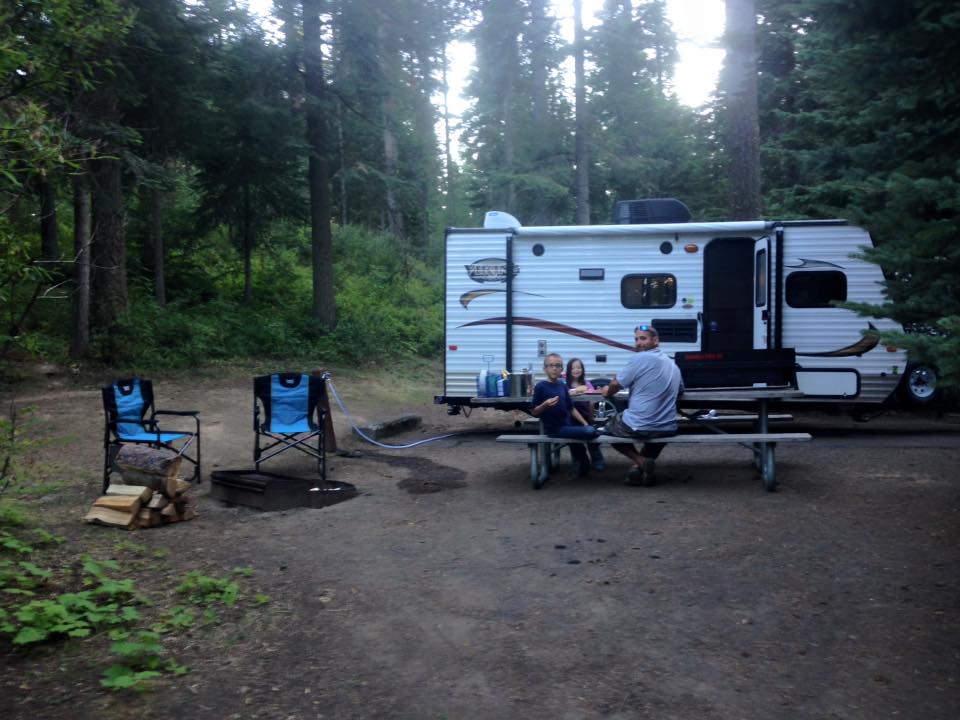
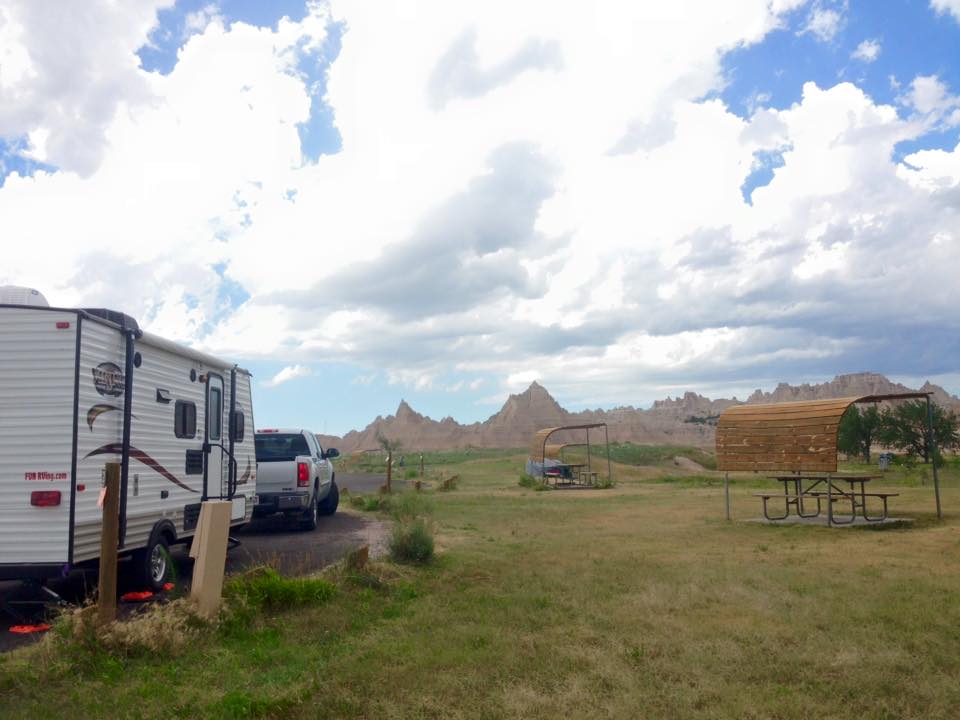
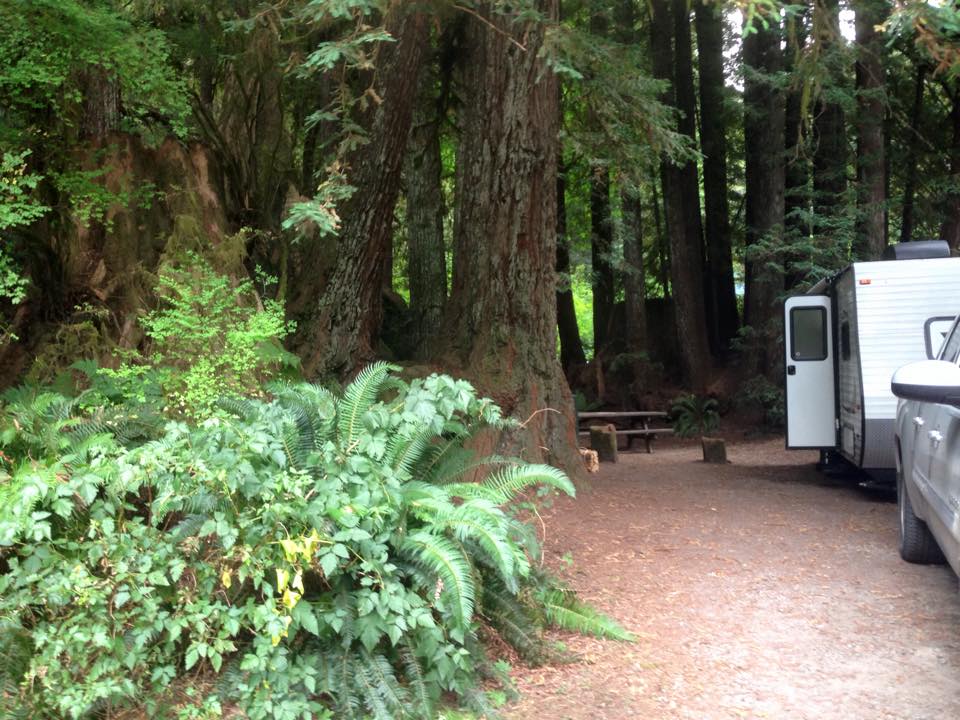
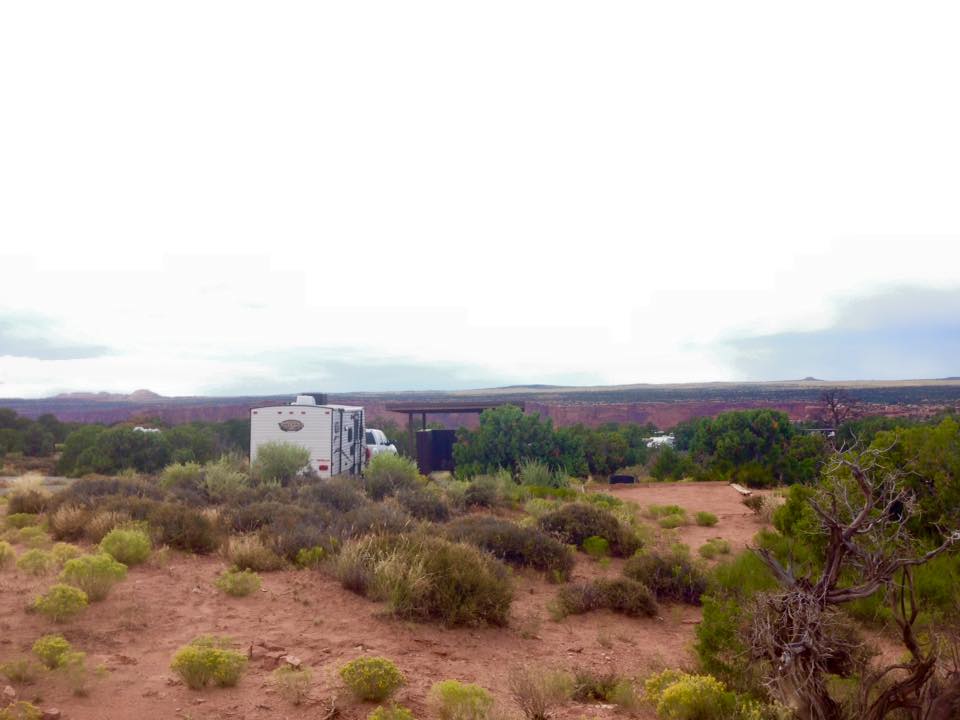
Unfortunately we’ve never given this trailer a name, we just always refer to it as “The Camper”.  She’s been with us on road trips along the coasts of Lake Michigan, Lake Huron, and Lake Erie.  Over the the Mackinaw, Golden Gate and Brooklyn bridges.  She’s been from Michigan to Washington and down the Pacific coast to California.  She’s been with us up and down the Atlantic coast from Maine to Georgia.  And she’s been to the Grand Canyon and back.

Check out just a few of the places she’s rested across this country:

Georgia
Virginia
Texas
Missuri
New Mexico
New York
Rhode Island
Philadelphia, Pensilvania
New Jersey
Minnesota
Oregon
Nevada
South Dakota
California
Utah Canyons