


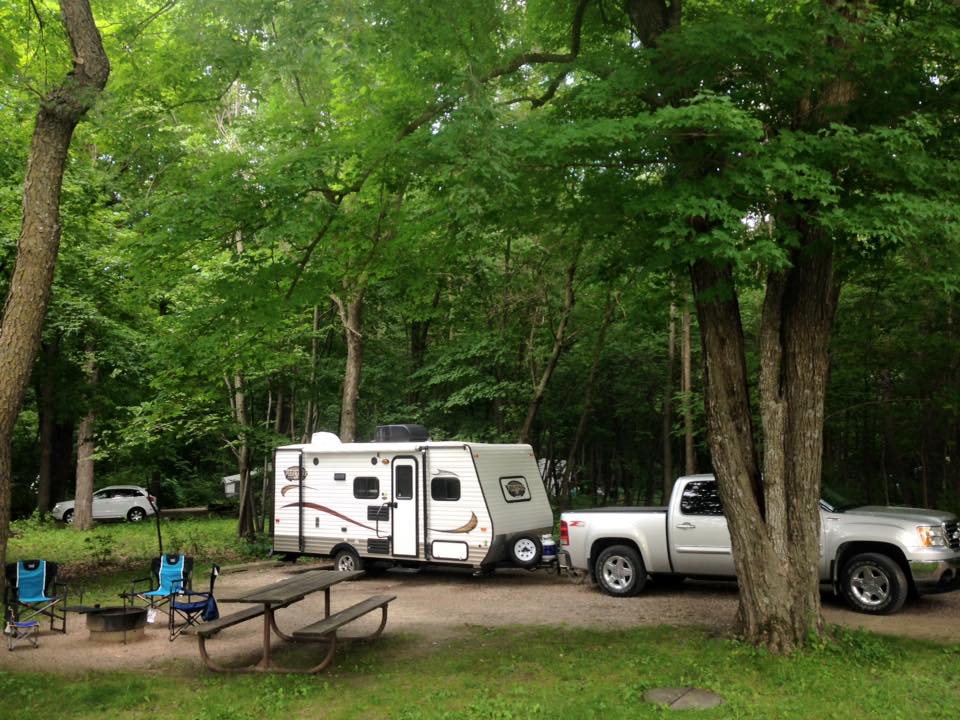
We typically spend quite a lot of time in The Camper every year, so it’s a little sad when the temperatures start to get quite chilly and we find it time to pack her up to hibernate for the winter following our halloween/harvest camping traditions.
The first year after purchase of our trailer, the dealer winterized it for free. But the following year we faced the decision of paying for it to be done or doing it ourselves. I spent a decade wrenching on cars, pulling them apart and putting them back together. But for whatever reason, I still didn’t know if I could…or maybe it was more so that I didn’t really have the desire to take on this winterization project.
After mentioning to a friend who had an RV, he laughed at the dilemma I was creating in my head of it and assured me that it was not that hard at all and I could do it my self for the price of one antifreeze bottle.
Being the cheap soul that I am, I took the leap and committed to learn to do it myself. And Oh My Goodness….so easy!! It literally takes me more time to sweep, wipe and clean out the interior of all our live-in remnants than it does to do these 6 simple steps.
Of course every unit will vary somewhat. I share with you the general steps of what works for mine, which will carry over in many regards to others. It’s notable that all our waste tanks were already drained immediately following our last night of camping.
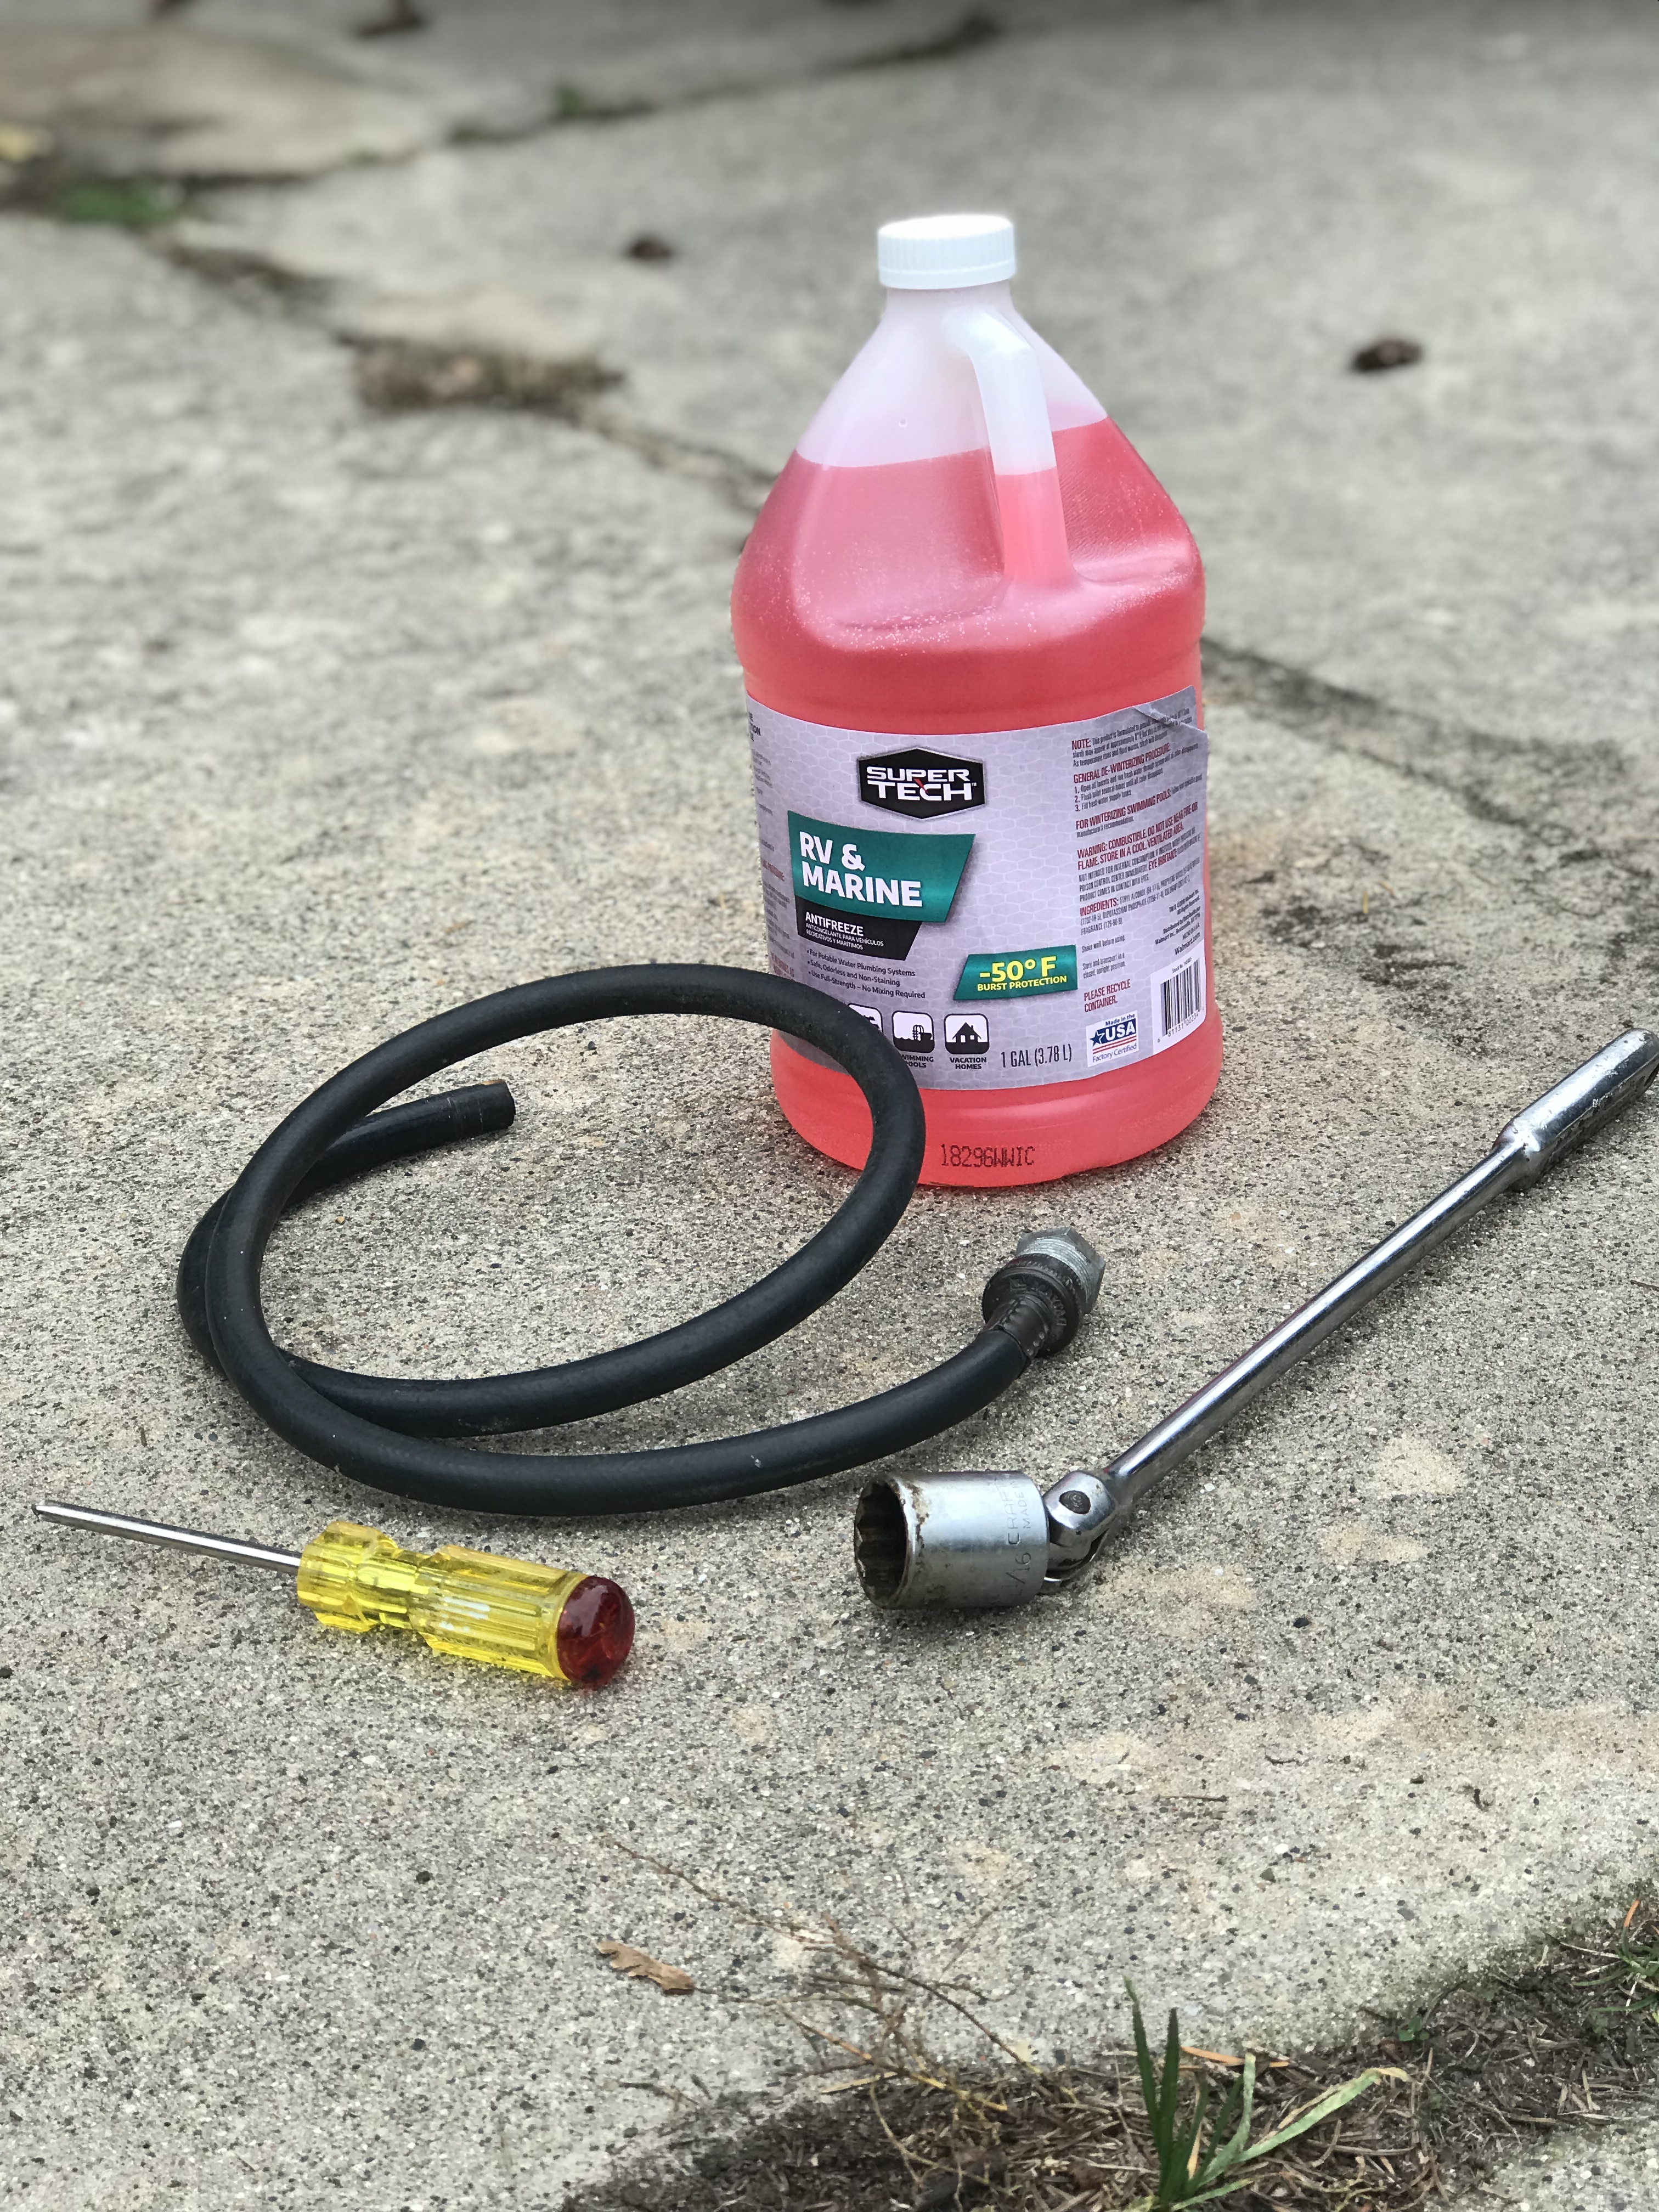
Supplies and tools required:
1 bottle RV & Marine Antifreeze
1 1/16 socket and wrench
Phillips driver
Rubber hose (with treaded adaptor to fit RV)
Step 1:
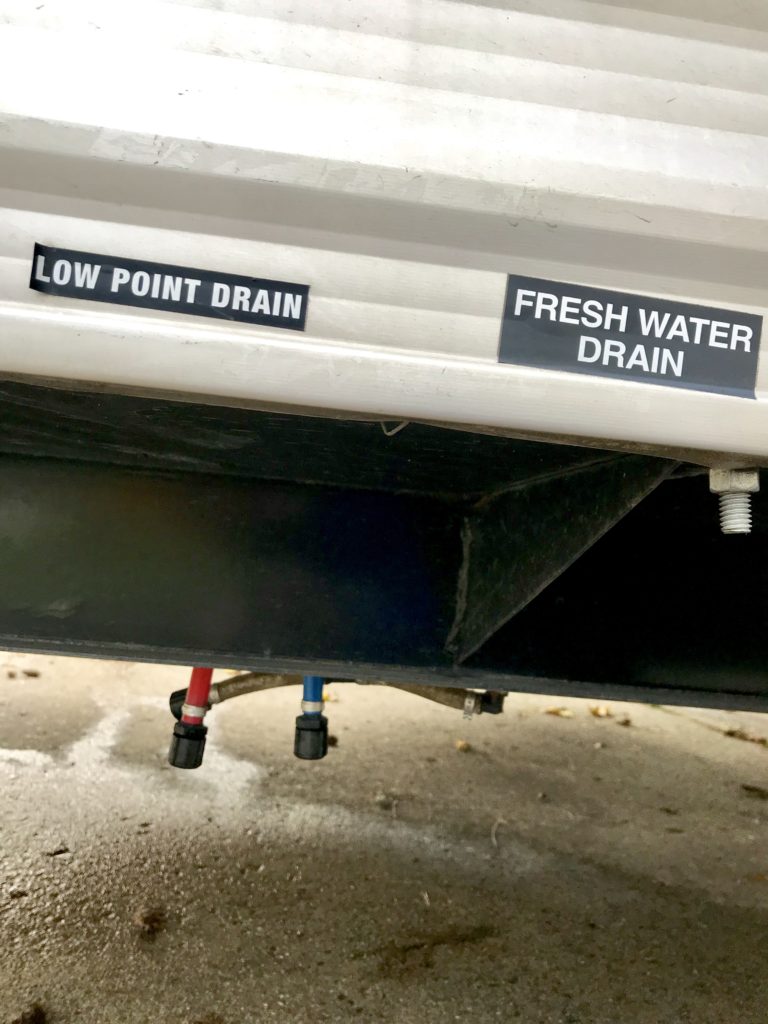
Uncap all the low point drains.
(My unit has 5)
Allow all water to drain
Replace caps.
Step 2:
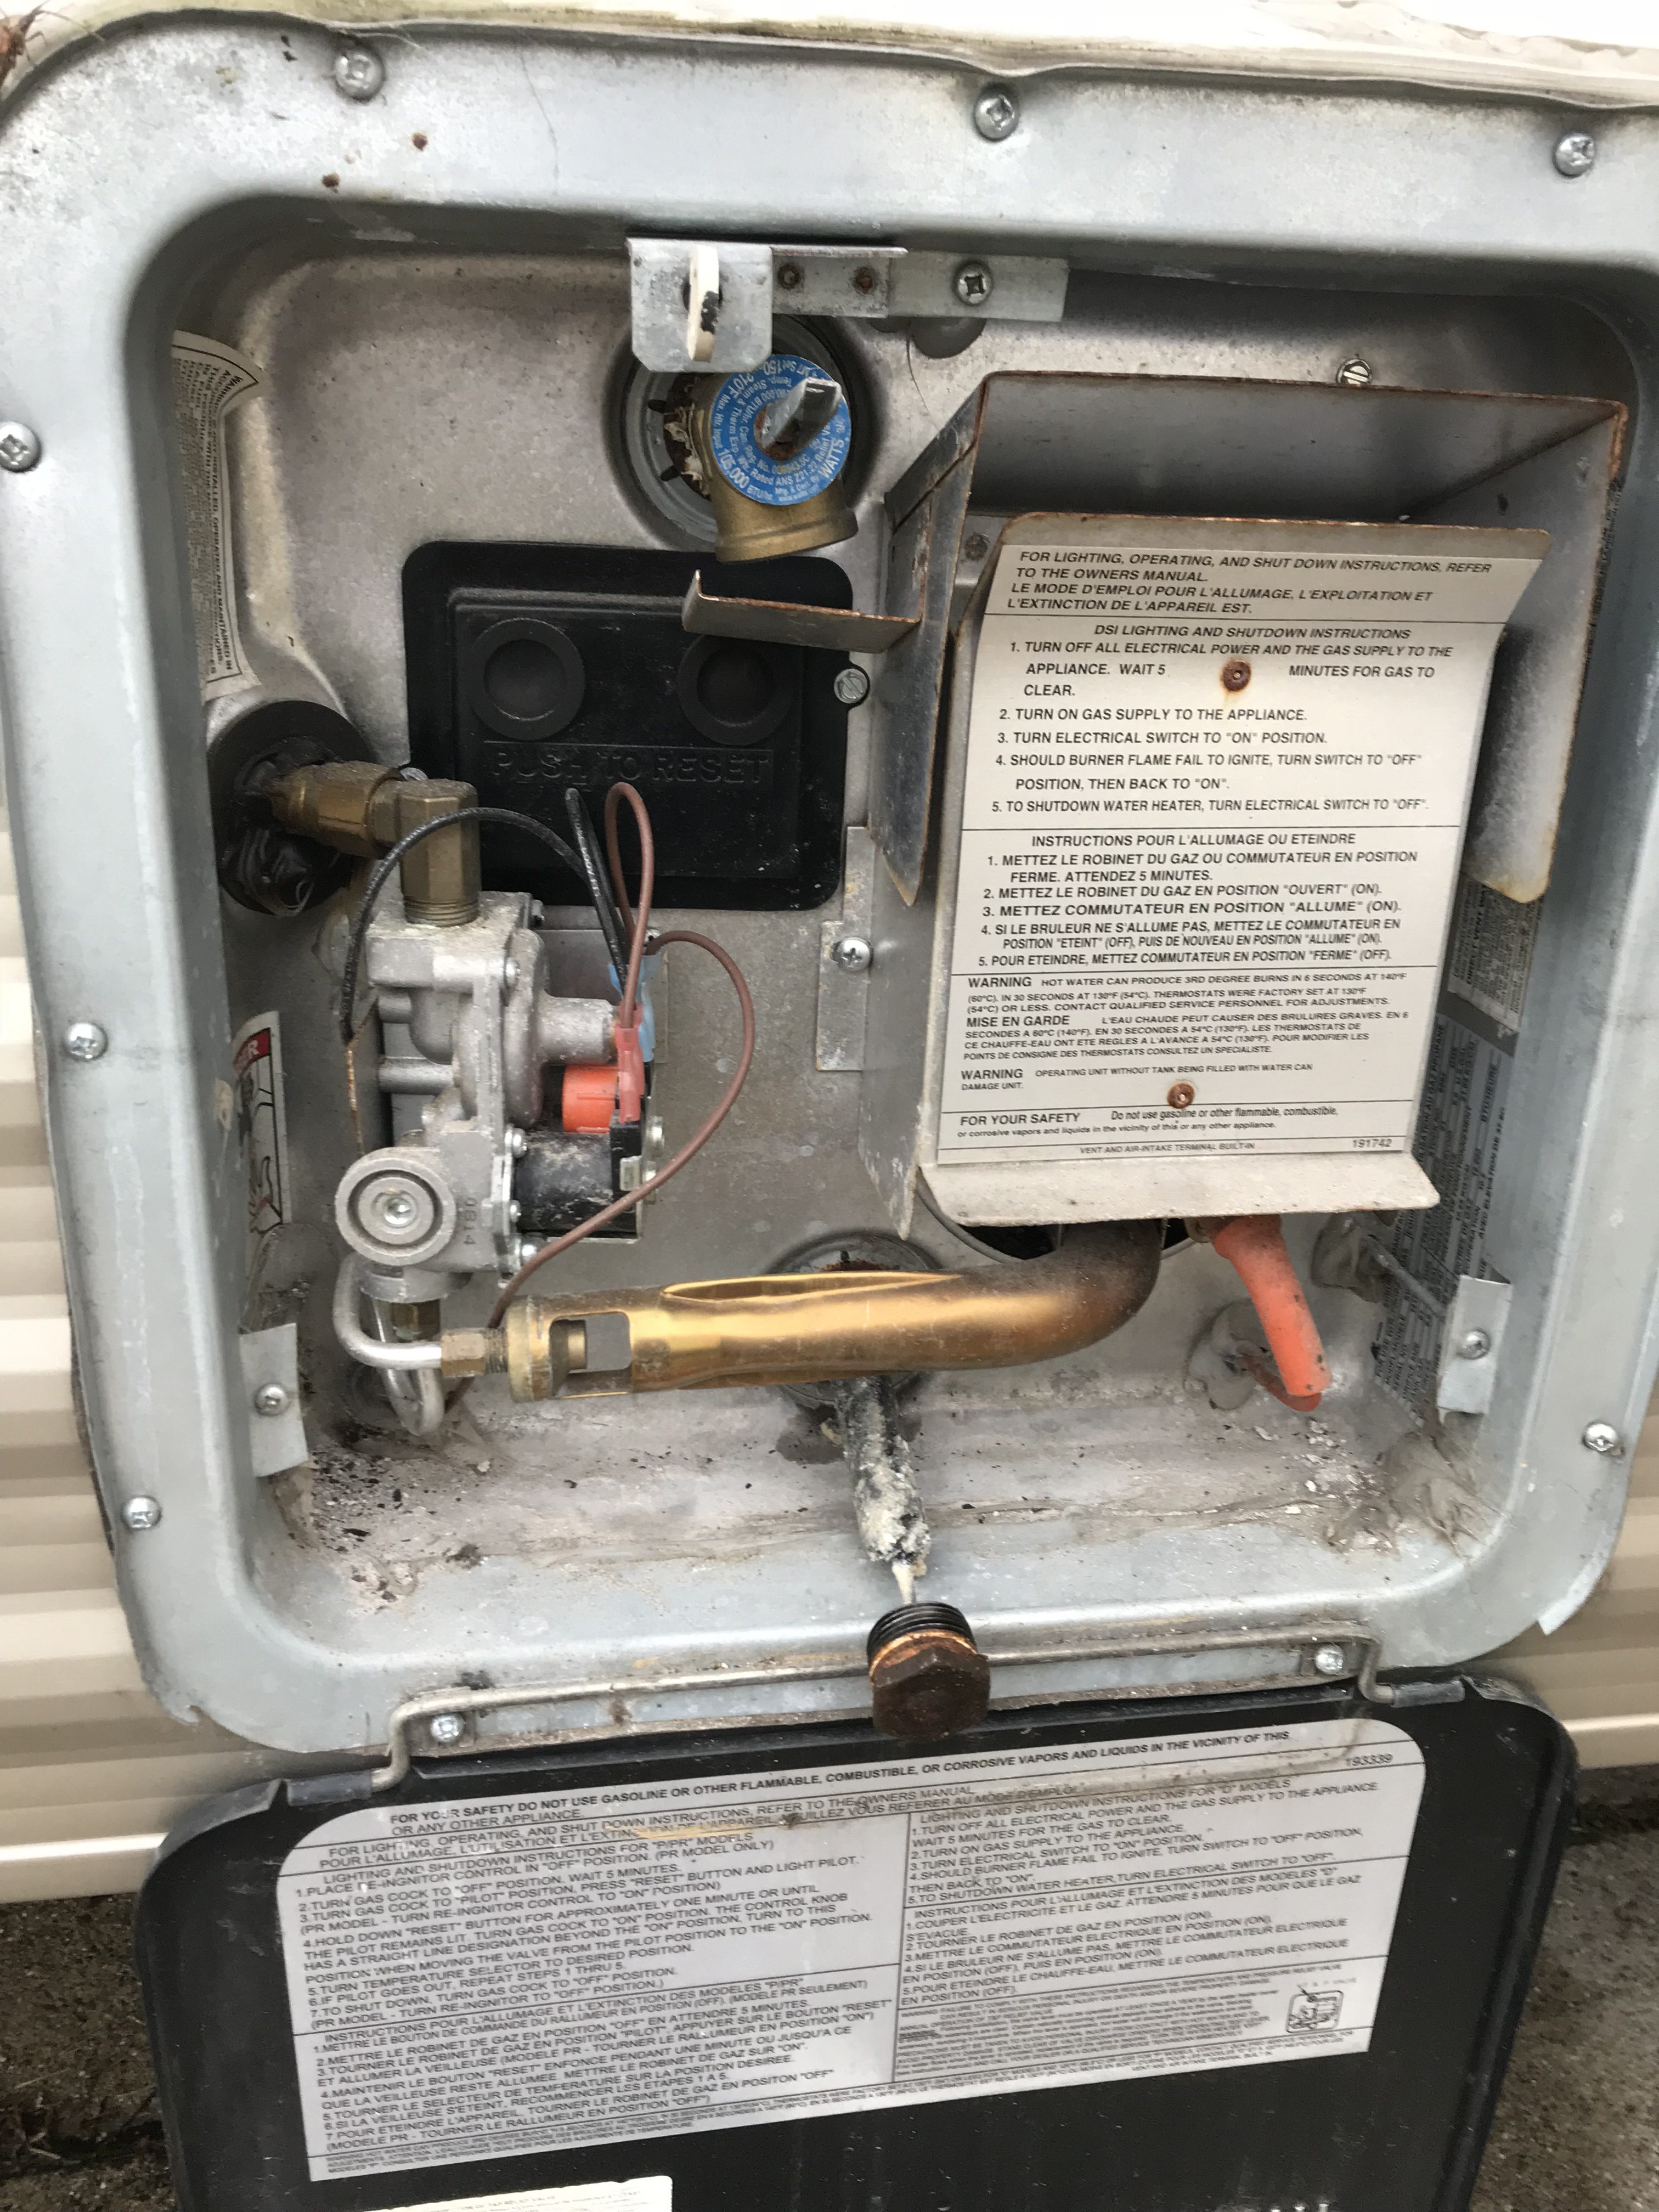
Open hot water maintenance panel on the exterior side wall of the unit.
Within here, open pressure relief valve on top.
Use socket to remove anode at bottom and inspect.
If any water is present, allow to drain.
Close relieve valve.
Replace anode (with existing or new depending on condition).
Close panel.
Step 3:
From inside the camper, turn water valves to bypass the heater:
Close the hot valve on the plumbing exiting the heater.
Close the cold valve on the plumbing entering the heater.
Open the valve on the bypass line that runs between the hot and cold lines.
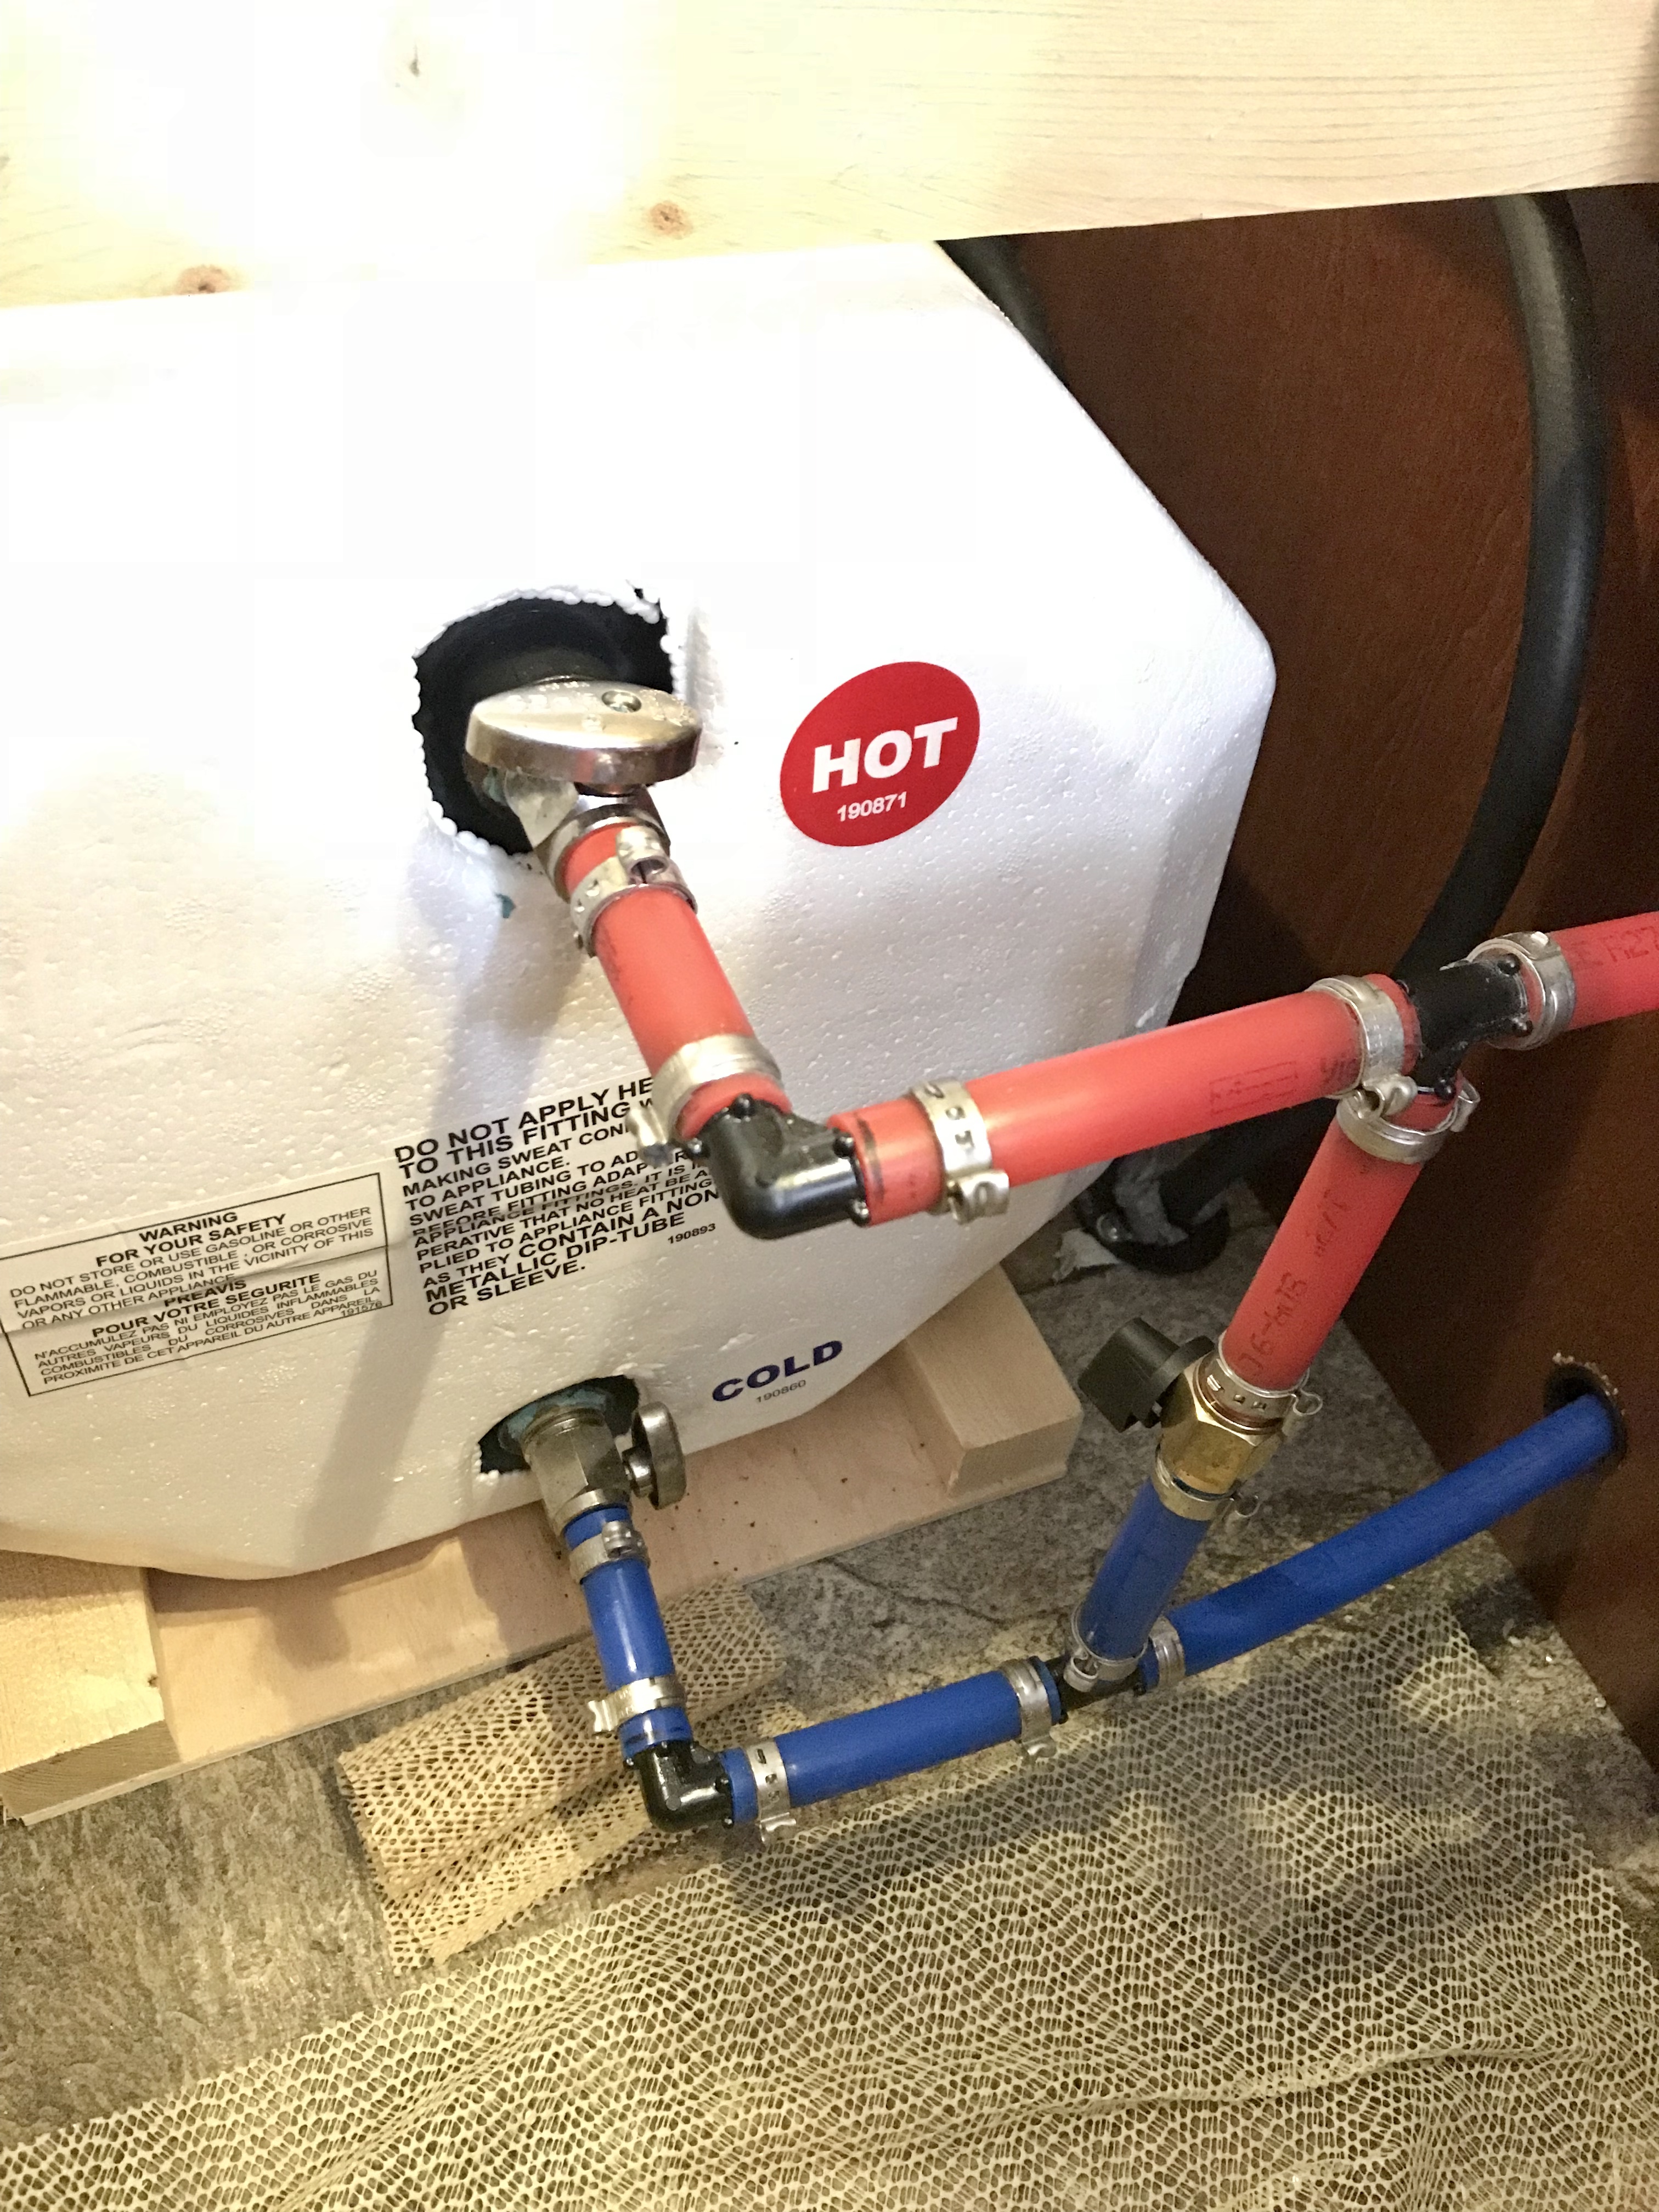
Step 4
Open access to the water pump. (Mine requires removal of a phillips screw)
Use the pig tail line to draw antifreeze into the system. The line proved in my unit is too short to reach the antifreeze, therefore I use an additional length of hose threaded on to extend the factor provided one.
One end of hose should be connected to the system and the other in the bottle of antifreeze.
Open valve to to allow connection to the water system.
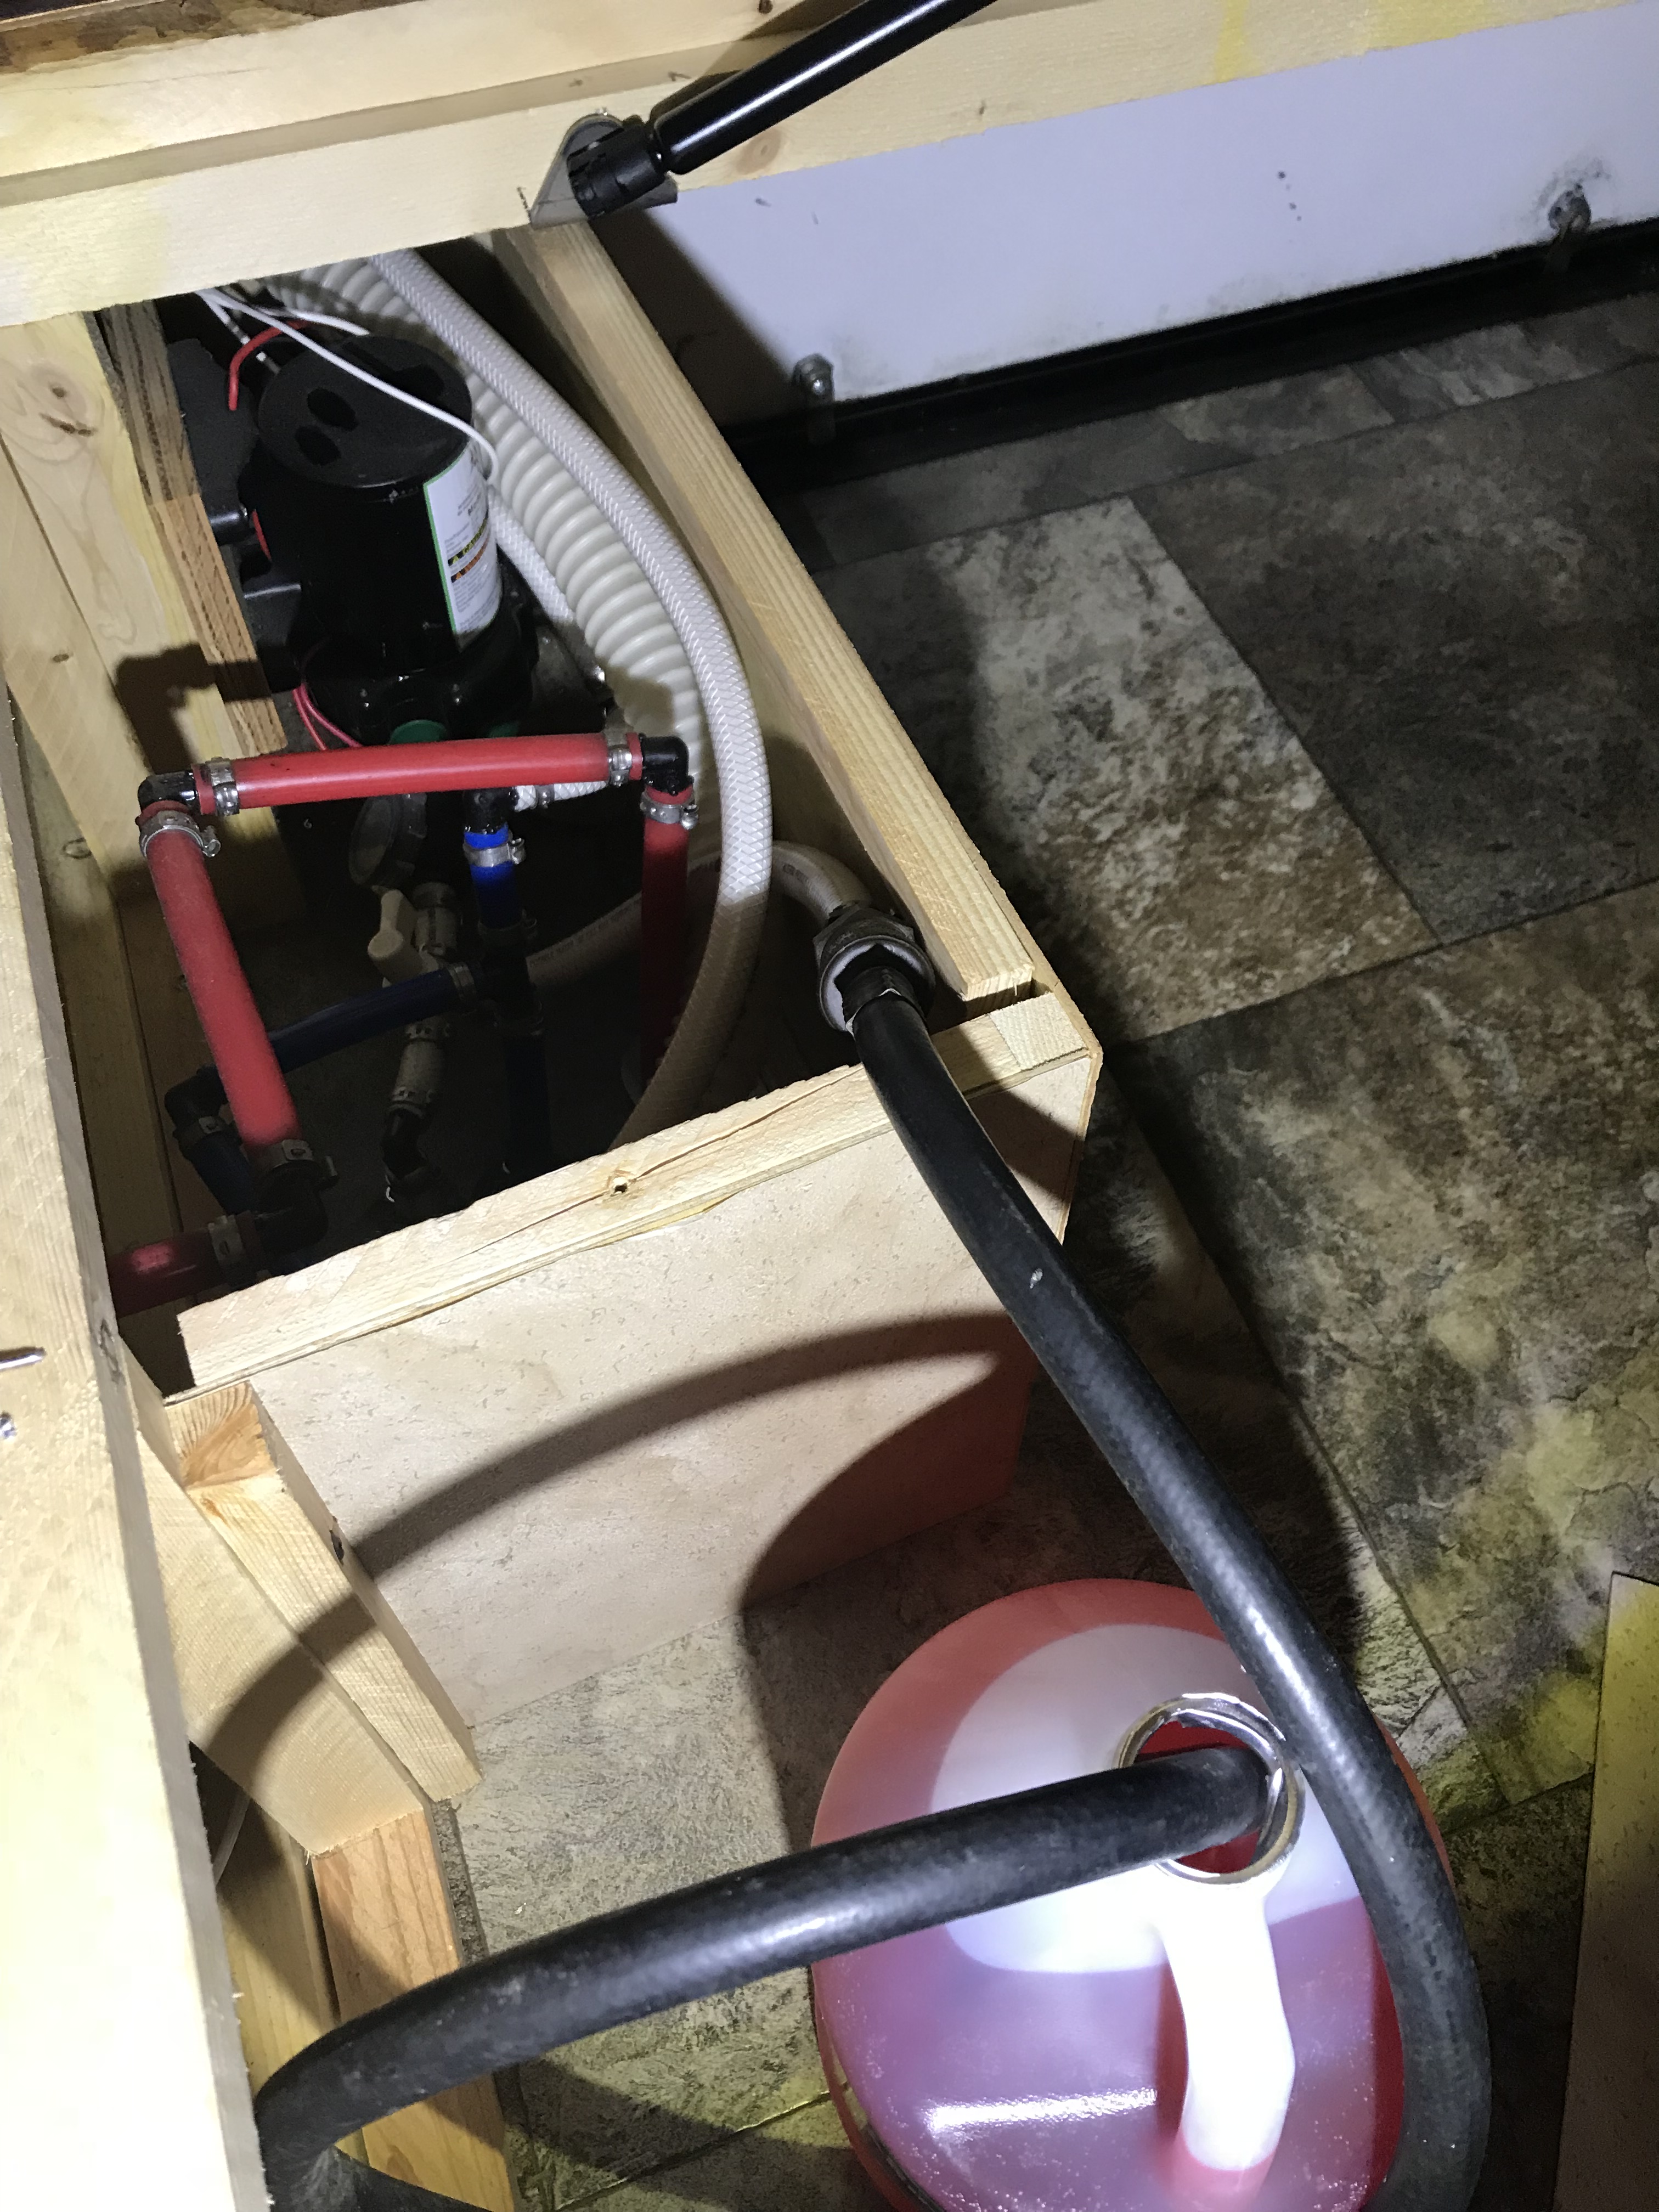
Step 5:
Turn on pump.
Turn on each faucet, one at a time, including hot and cold, until the pink of the antifreeze runs flows through.
Don’t forget, shower head and toilet.
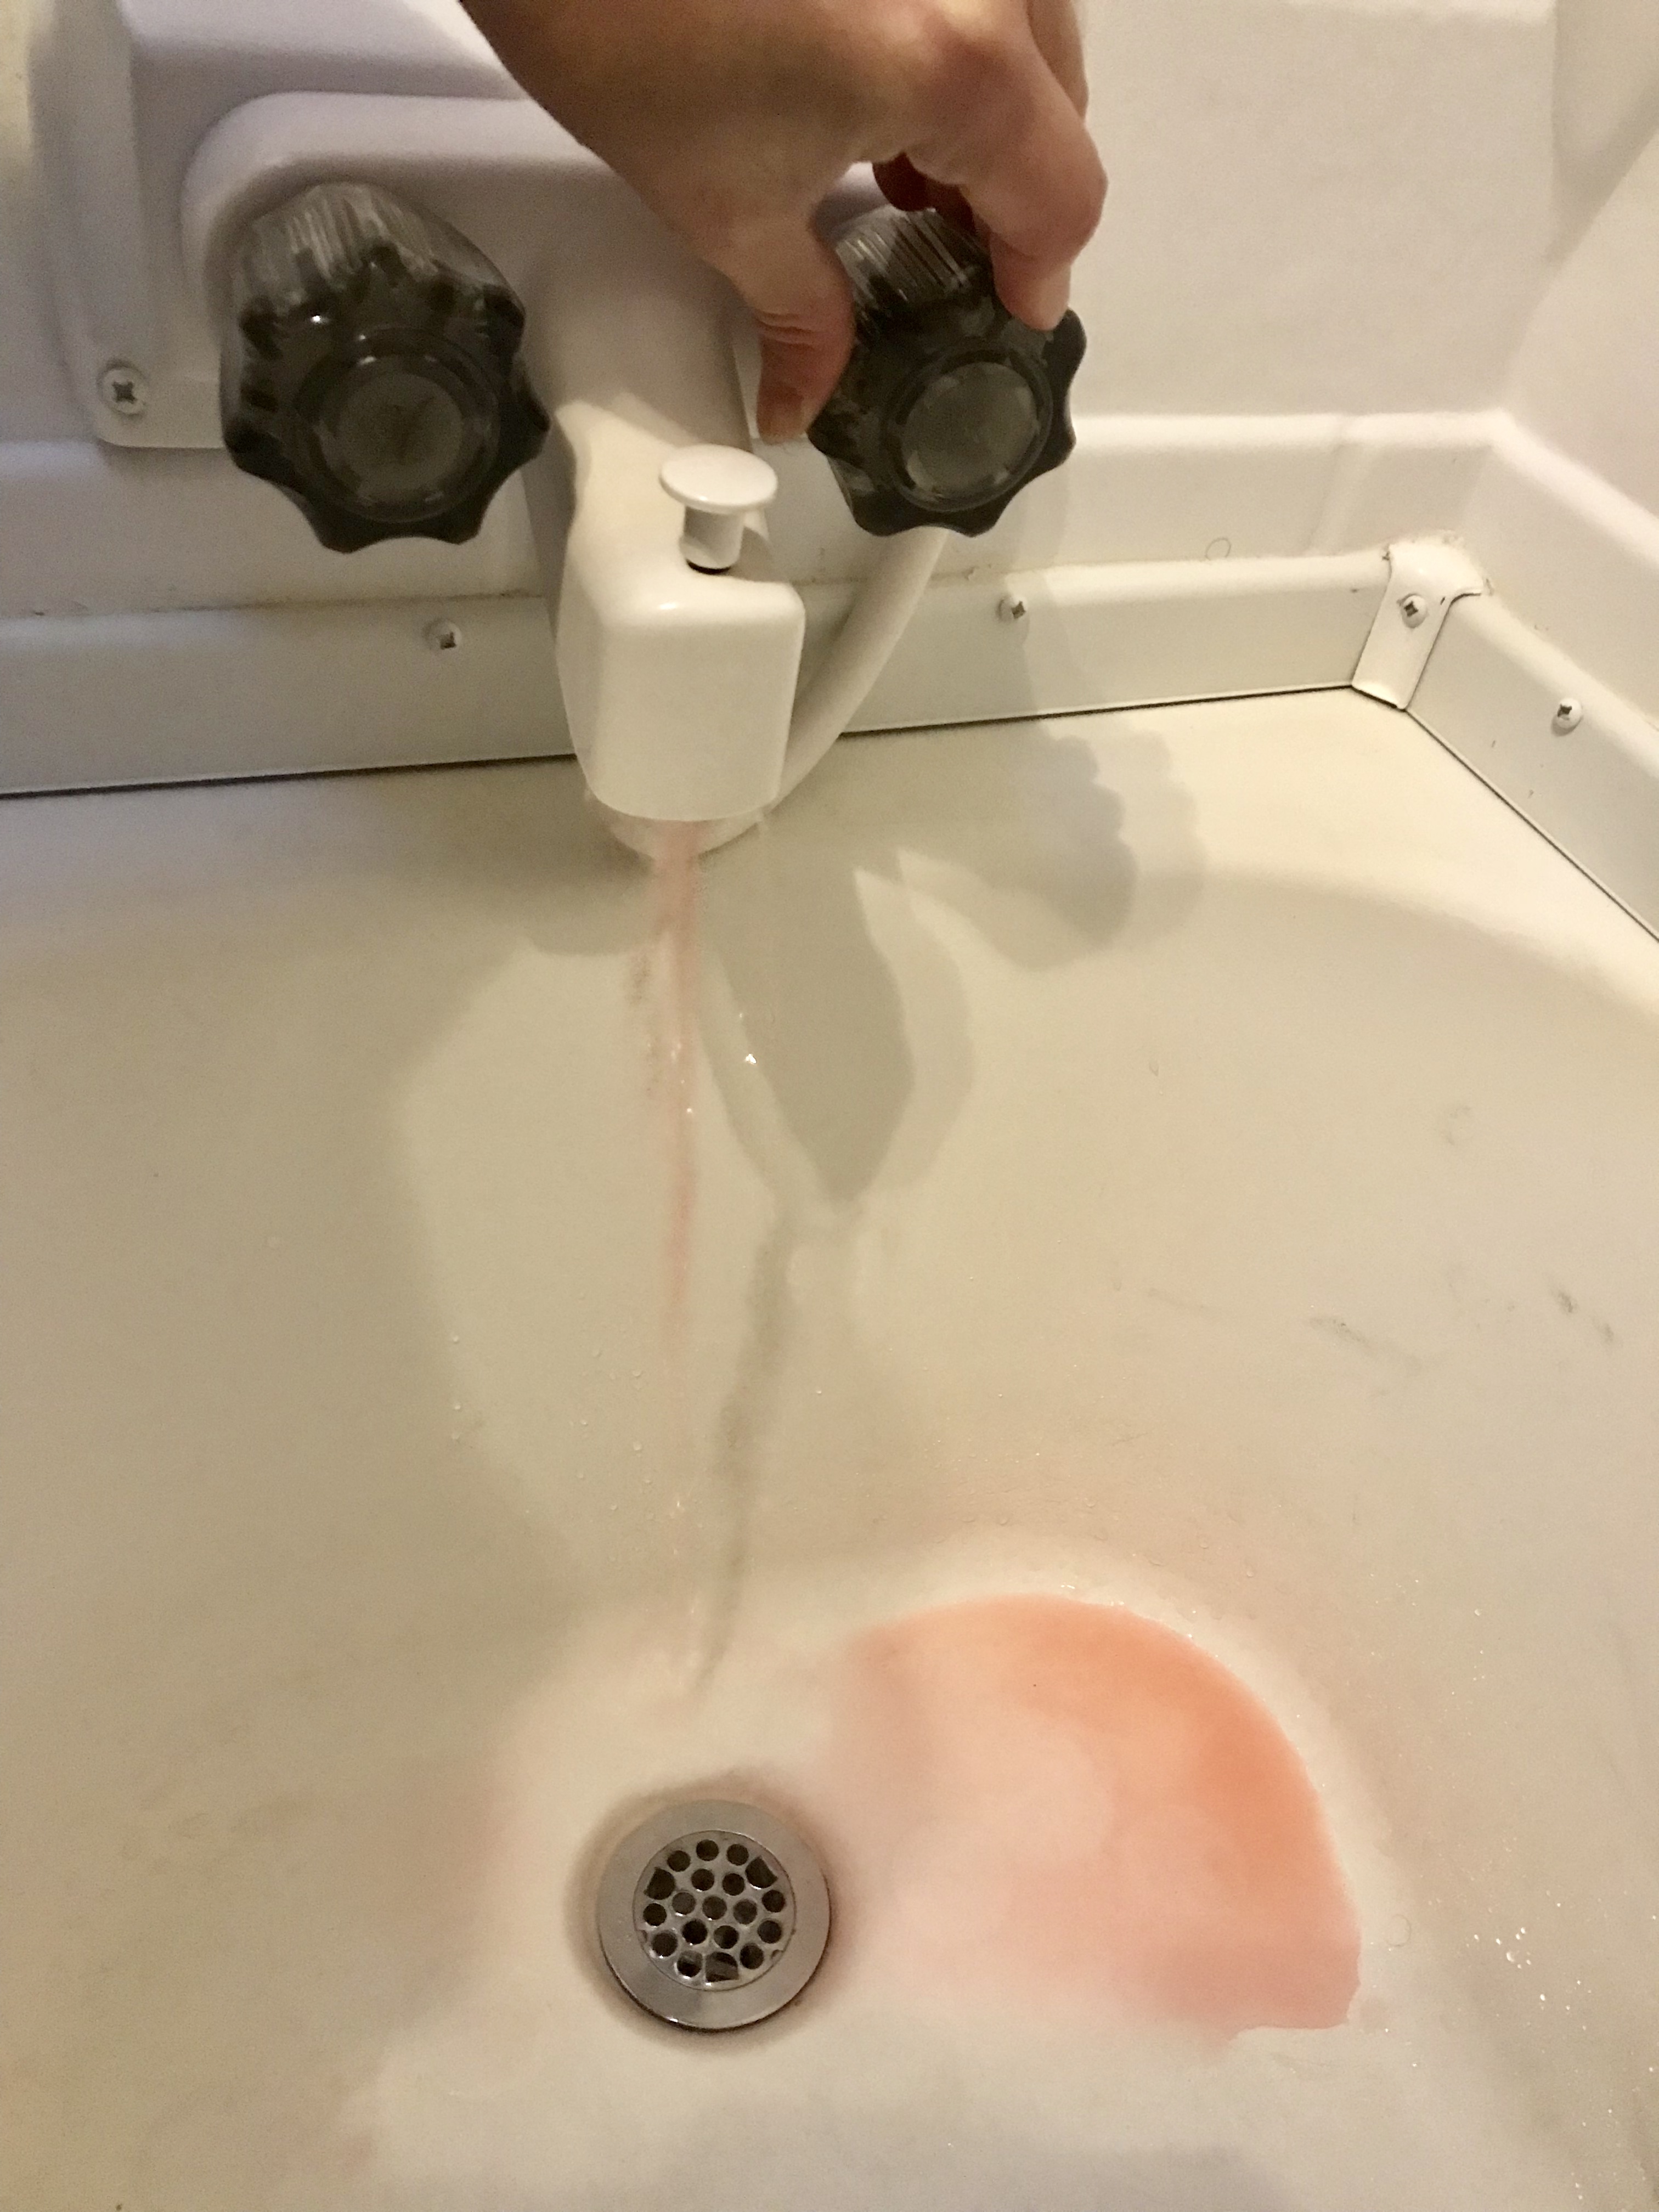
Step 6:
Turn off pump
Turn off faucets
Pour remaining antifreeze in equal parts down all drains
Wipe up excess from sink and tub
After that is complete, we disconnect the battery and store it inside for winter.